Getting the prices back almost made me scrap this entire thing because I didn't think anyone would pay so much for a basic, black and white planner with no decorations. And this is after looking around at other independent planner printing small businesses. I'm an in-between price. But who am I to say mine's better than the rest? But I looked over everything again and went, no, this needs to be out in the world.
I truly believe this planner can help with not just getting organised, but also with productivity and personal growth. It's centred around you, and while structured, is flexible enough to be customisable to you. Even the cover is completely blank so you decide what you want to do with it.
To convince myself (and you), I made a list of things I think is great about this planner.
Believing
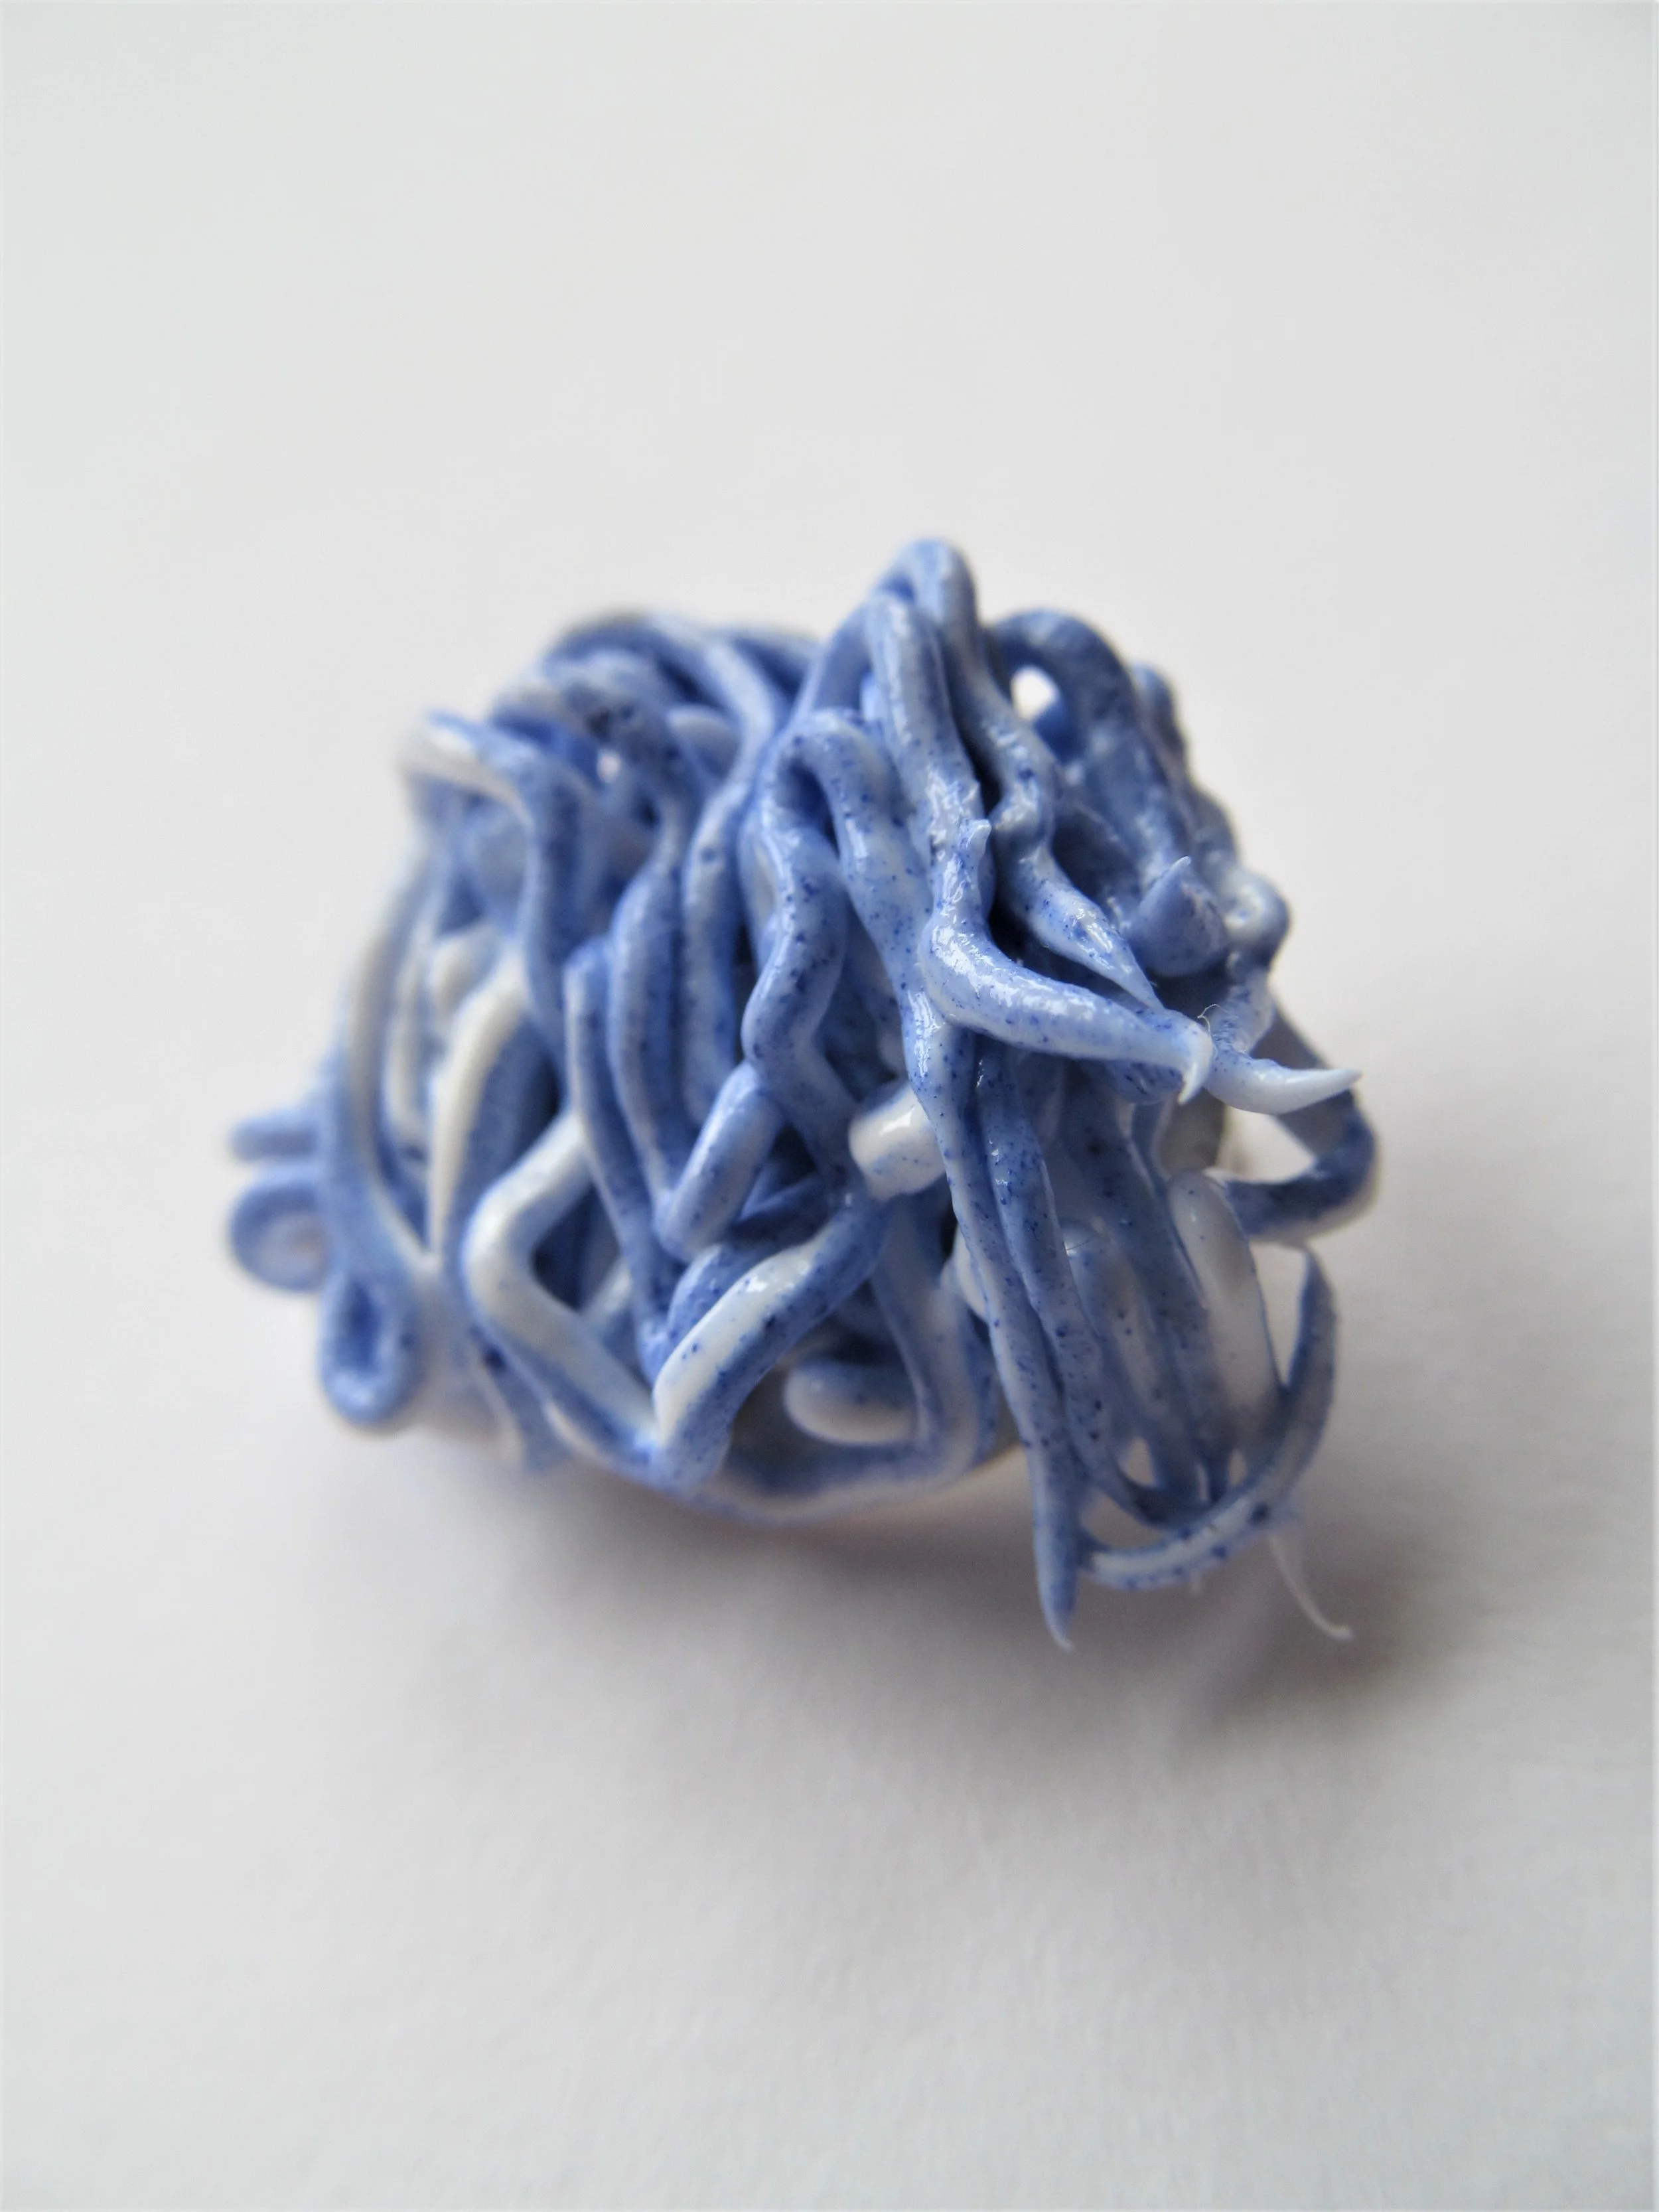
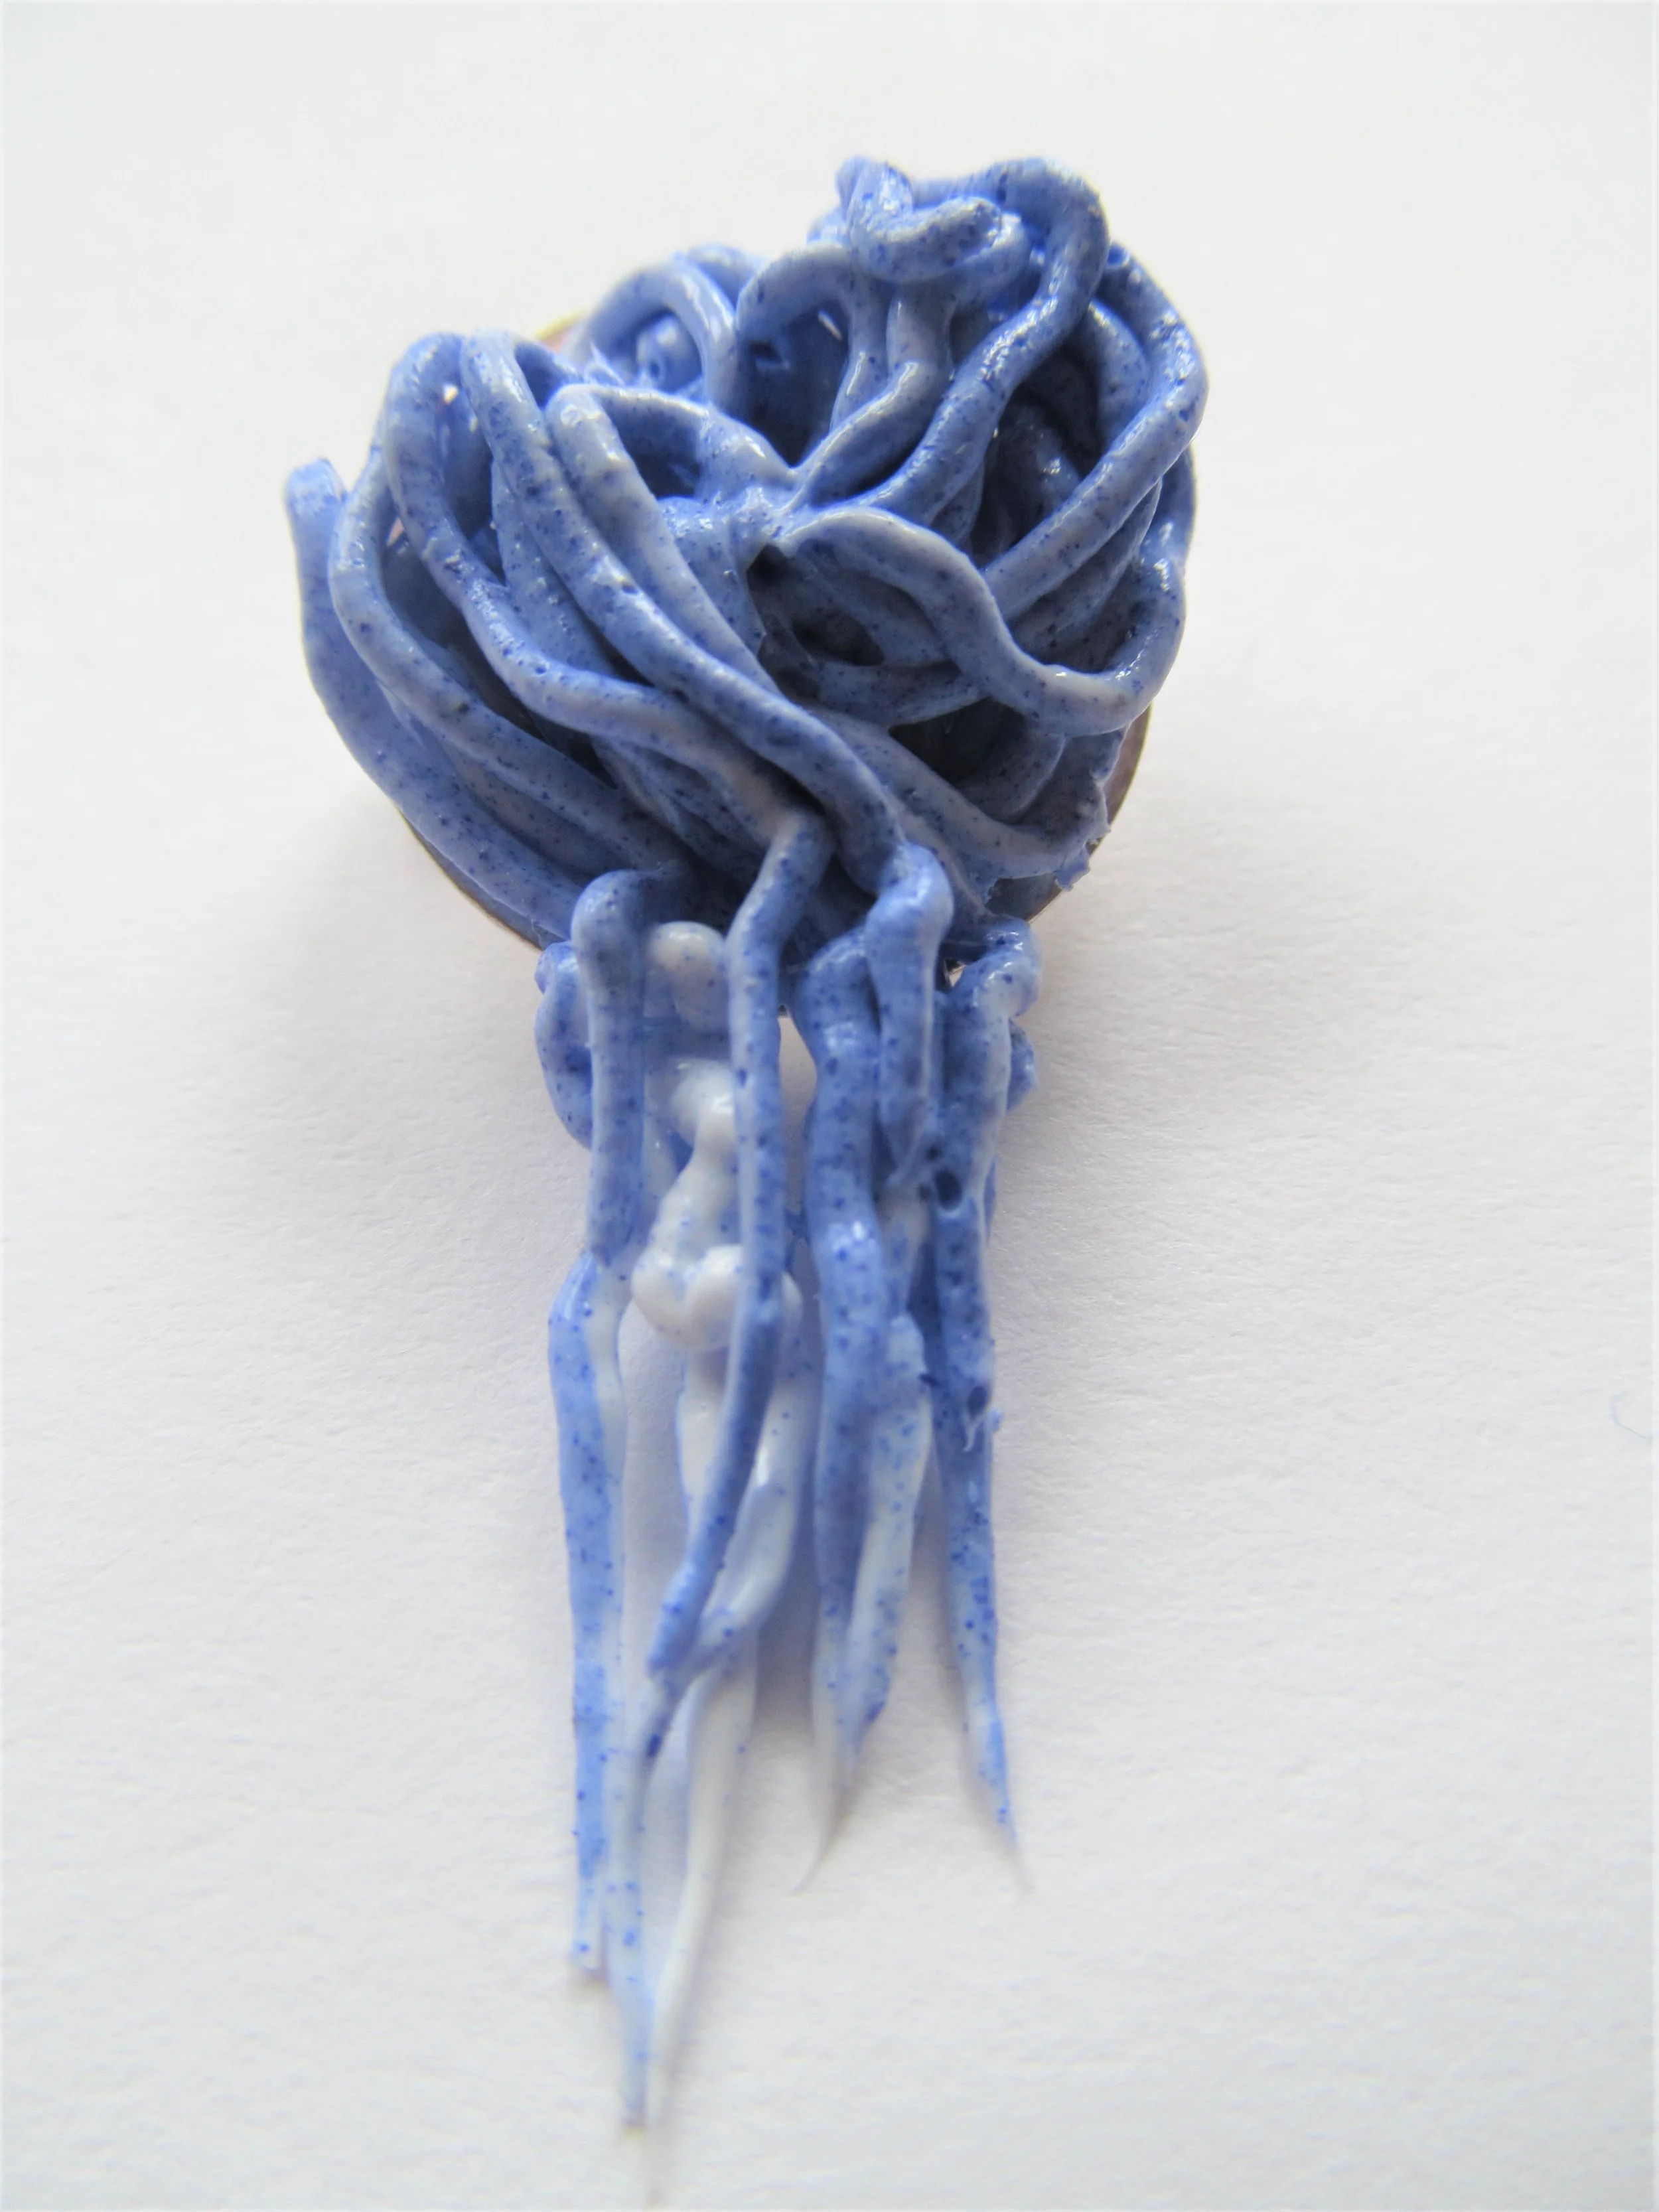
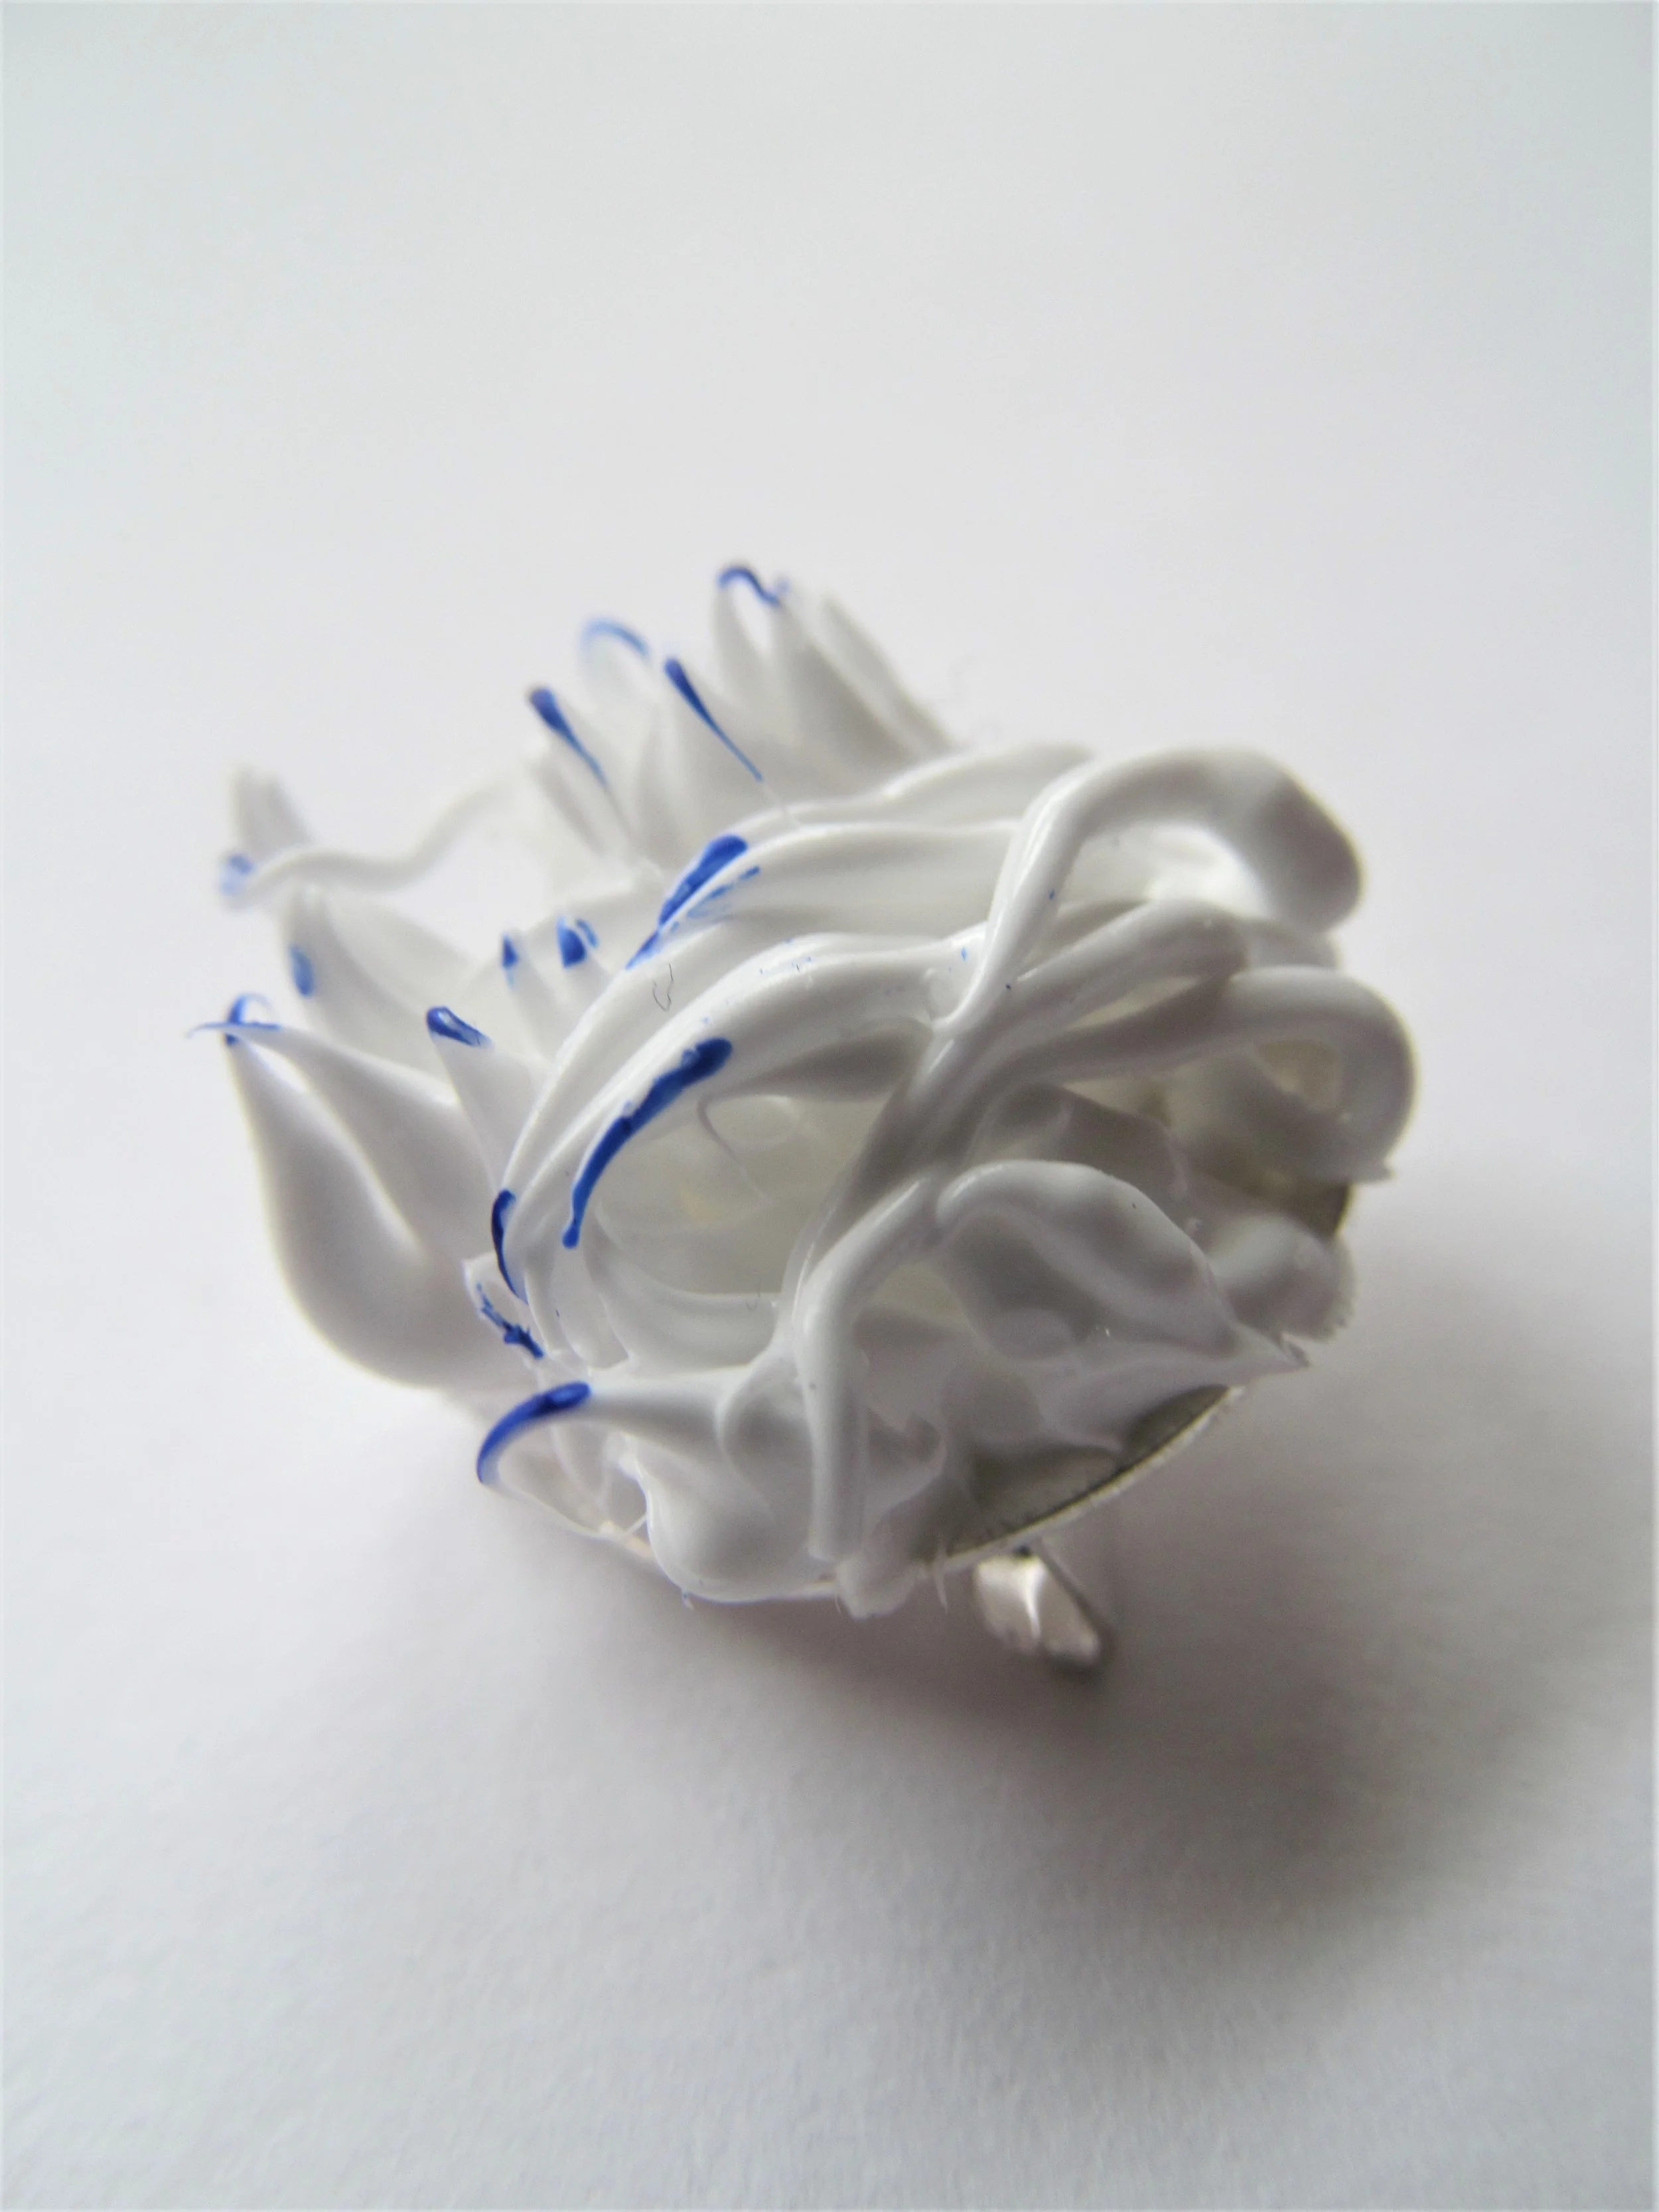
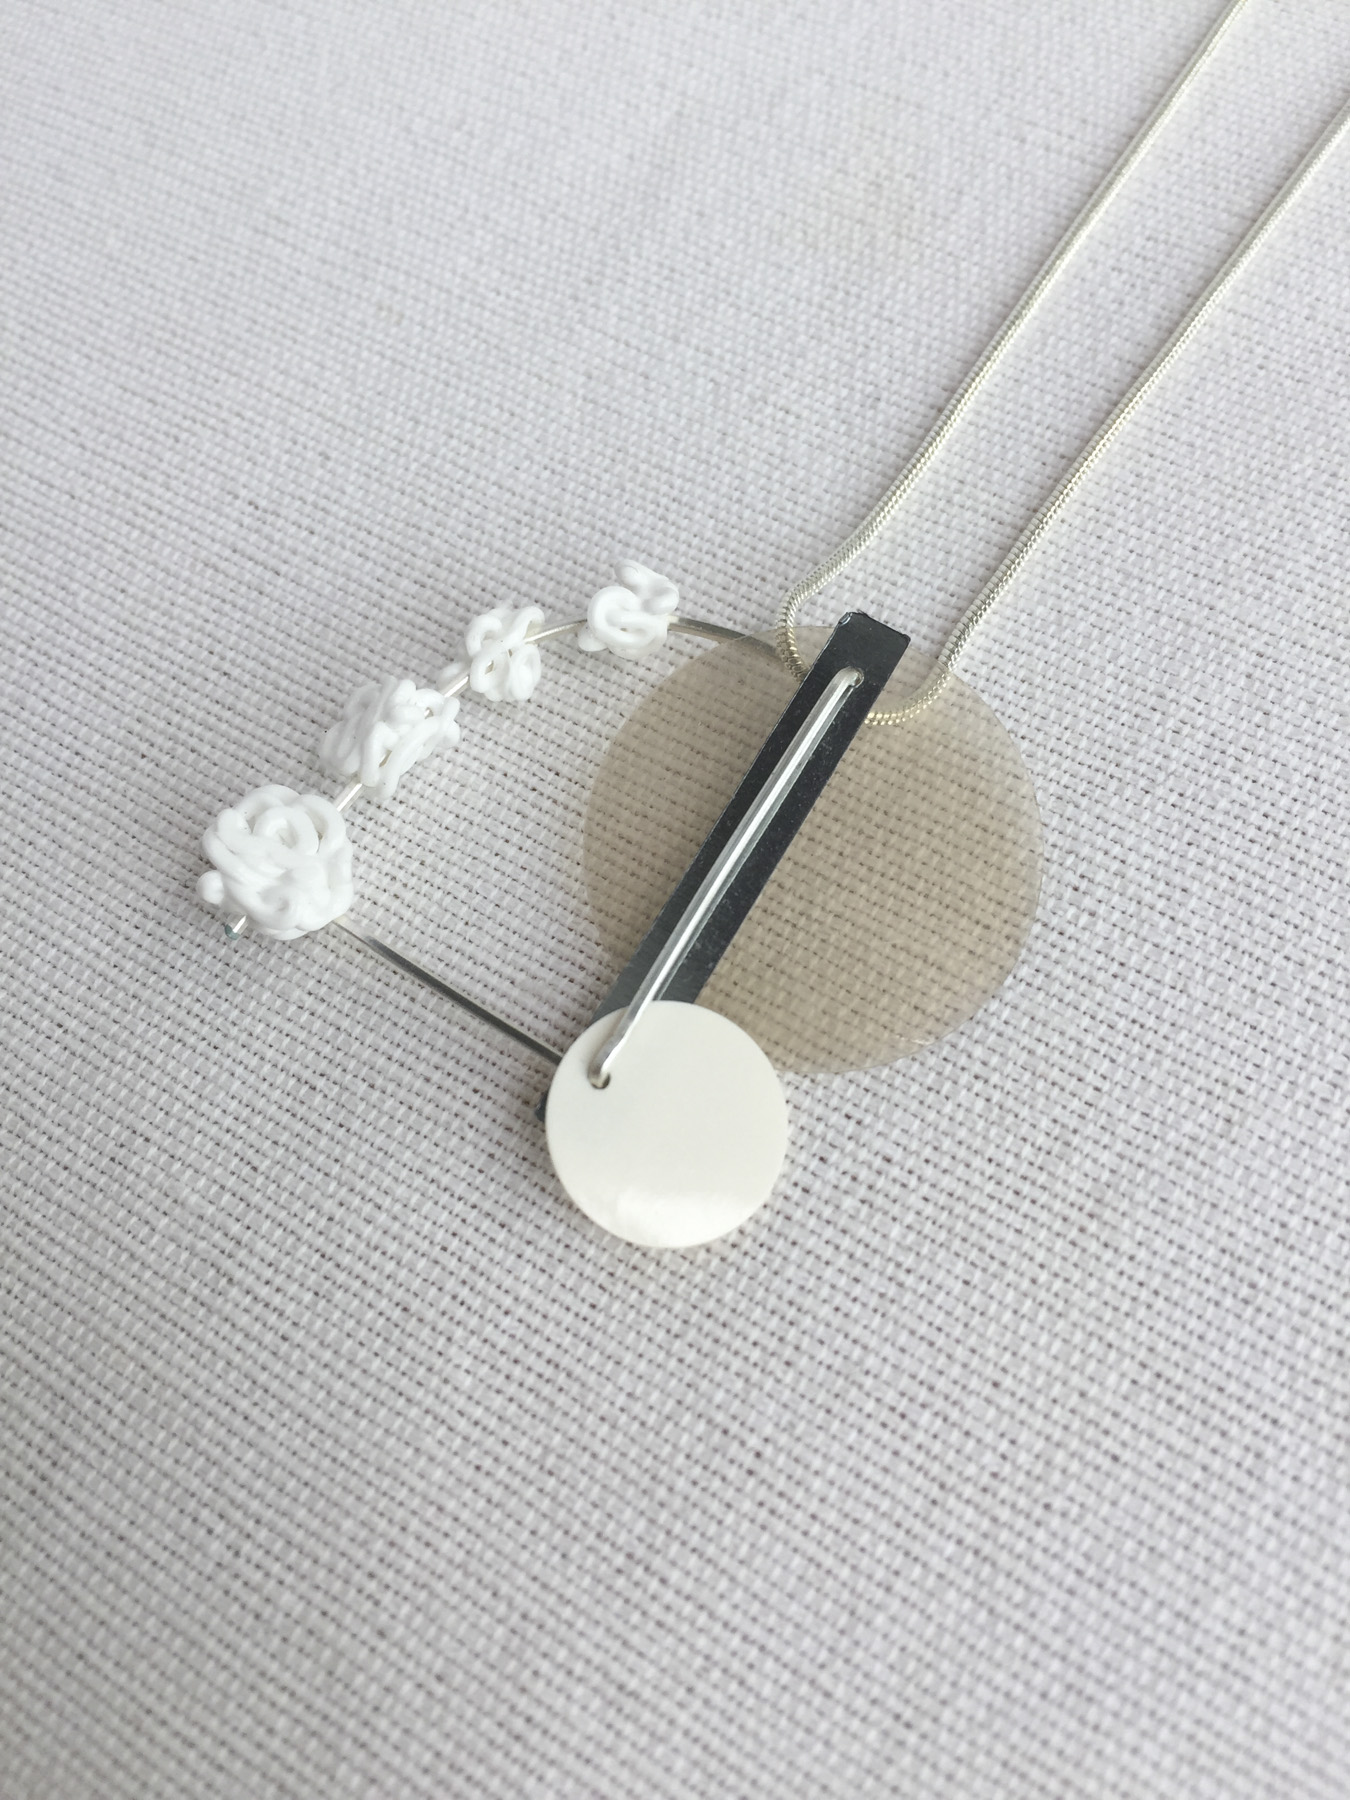
1. Design
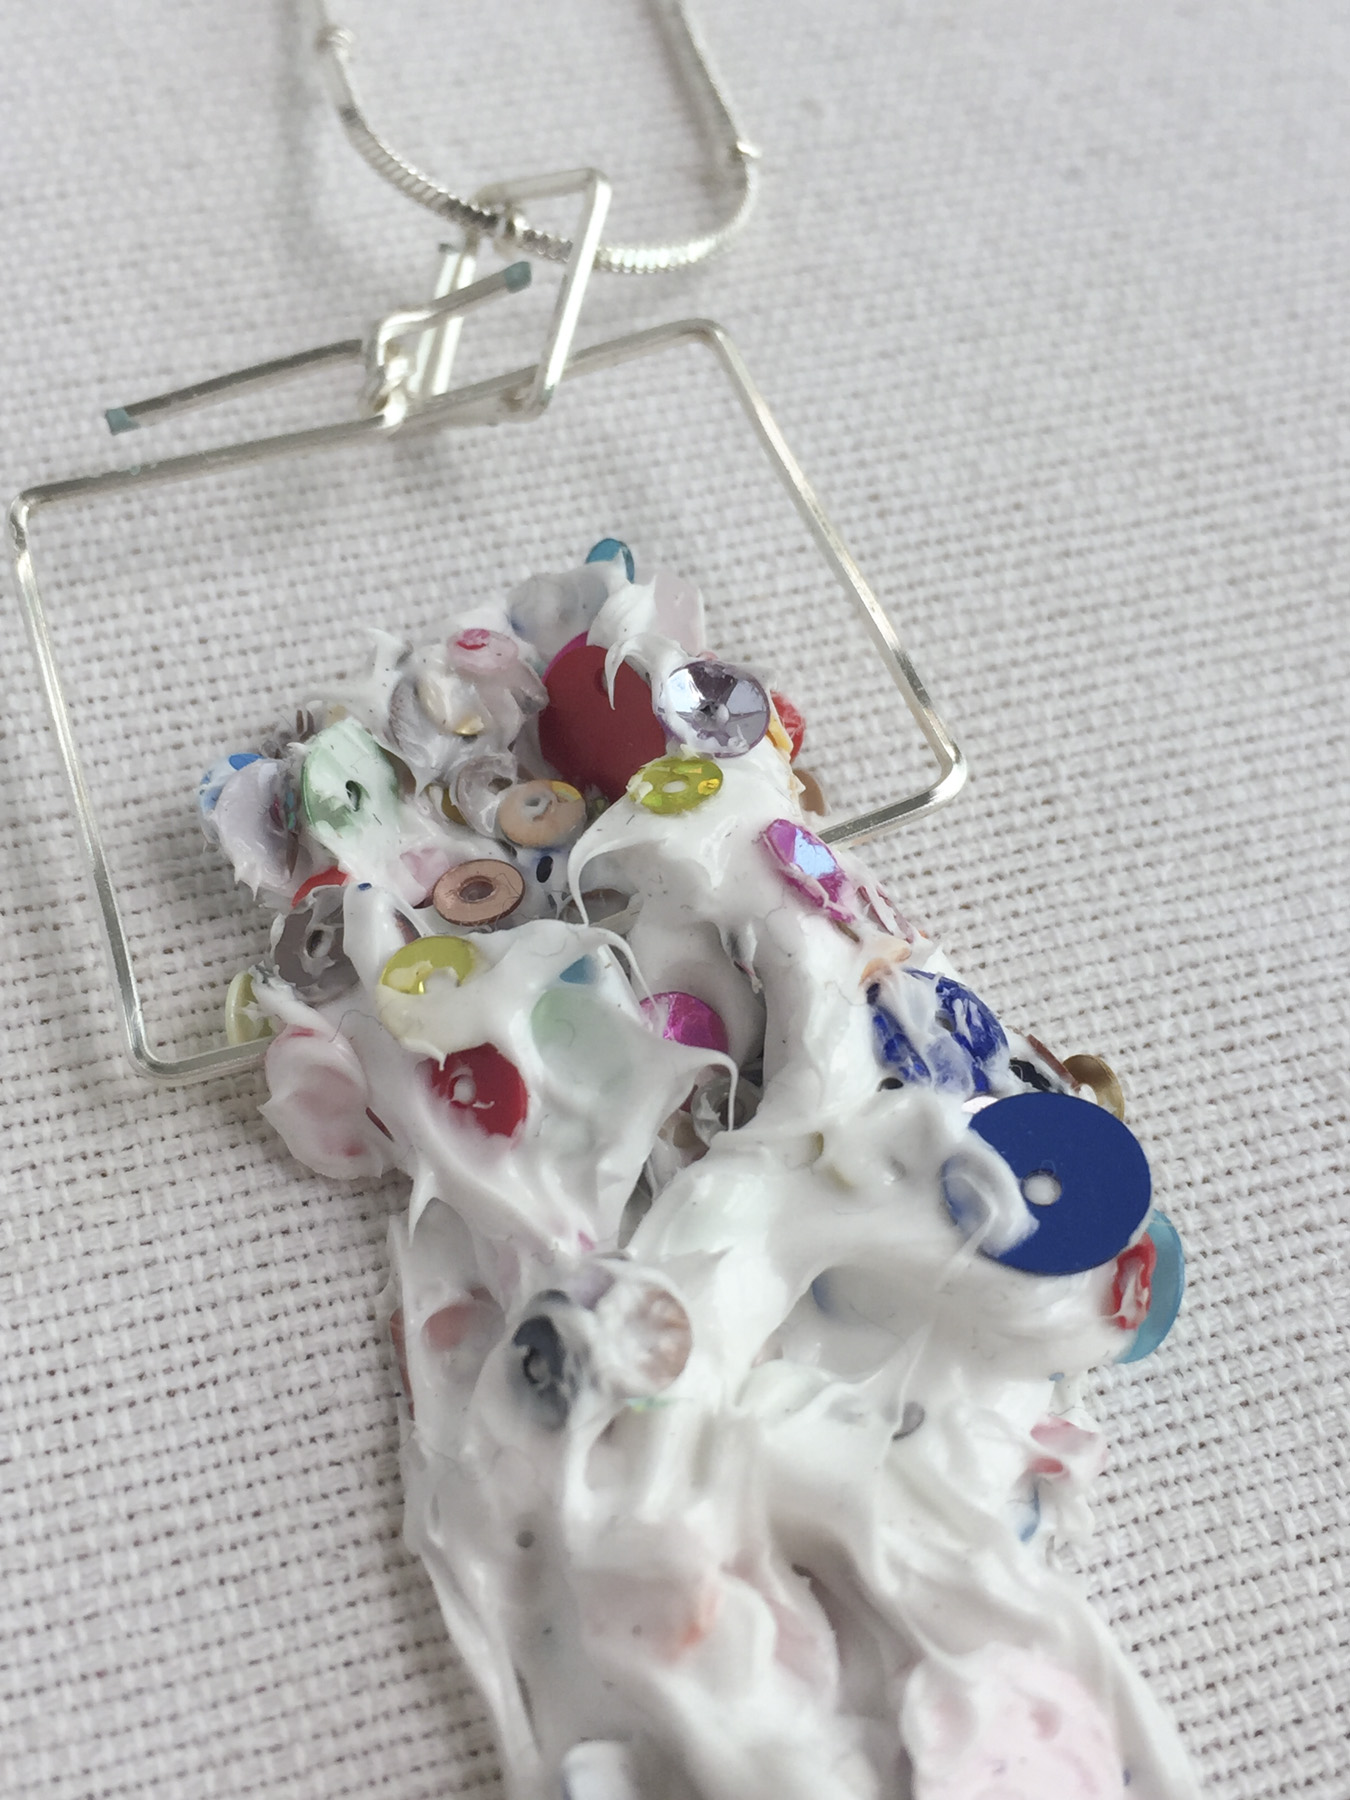
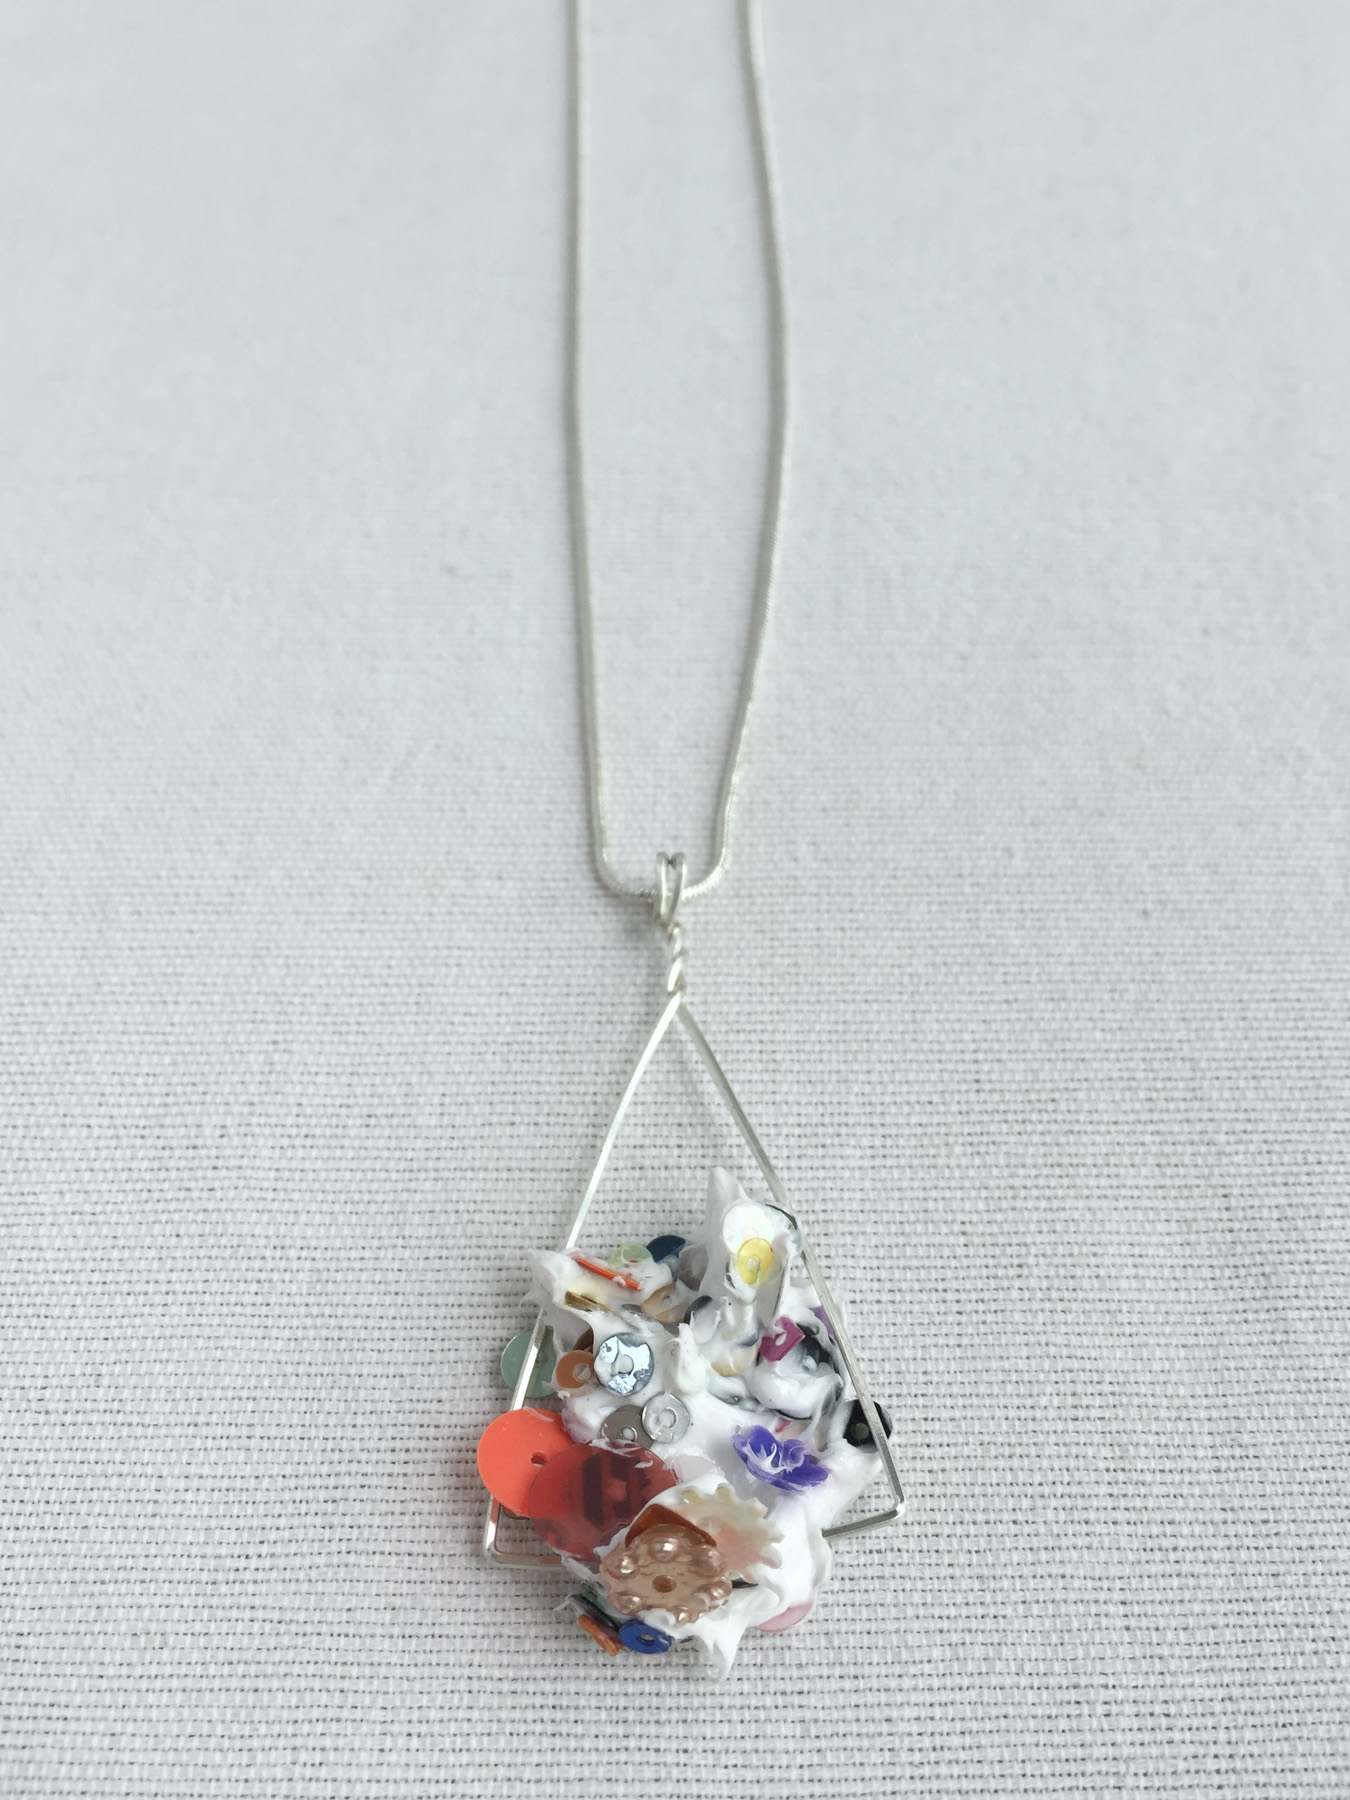
It isn't decorative in any way, and that was a conscious design decision. Strip away the distractions and the fancy, and you're left with raw, driven and focused determination to grow, and learn, and get things done.
2. Paper
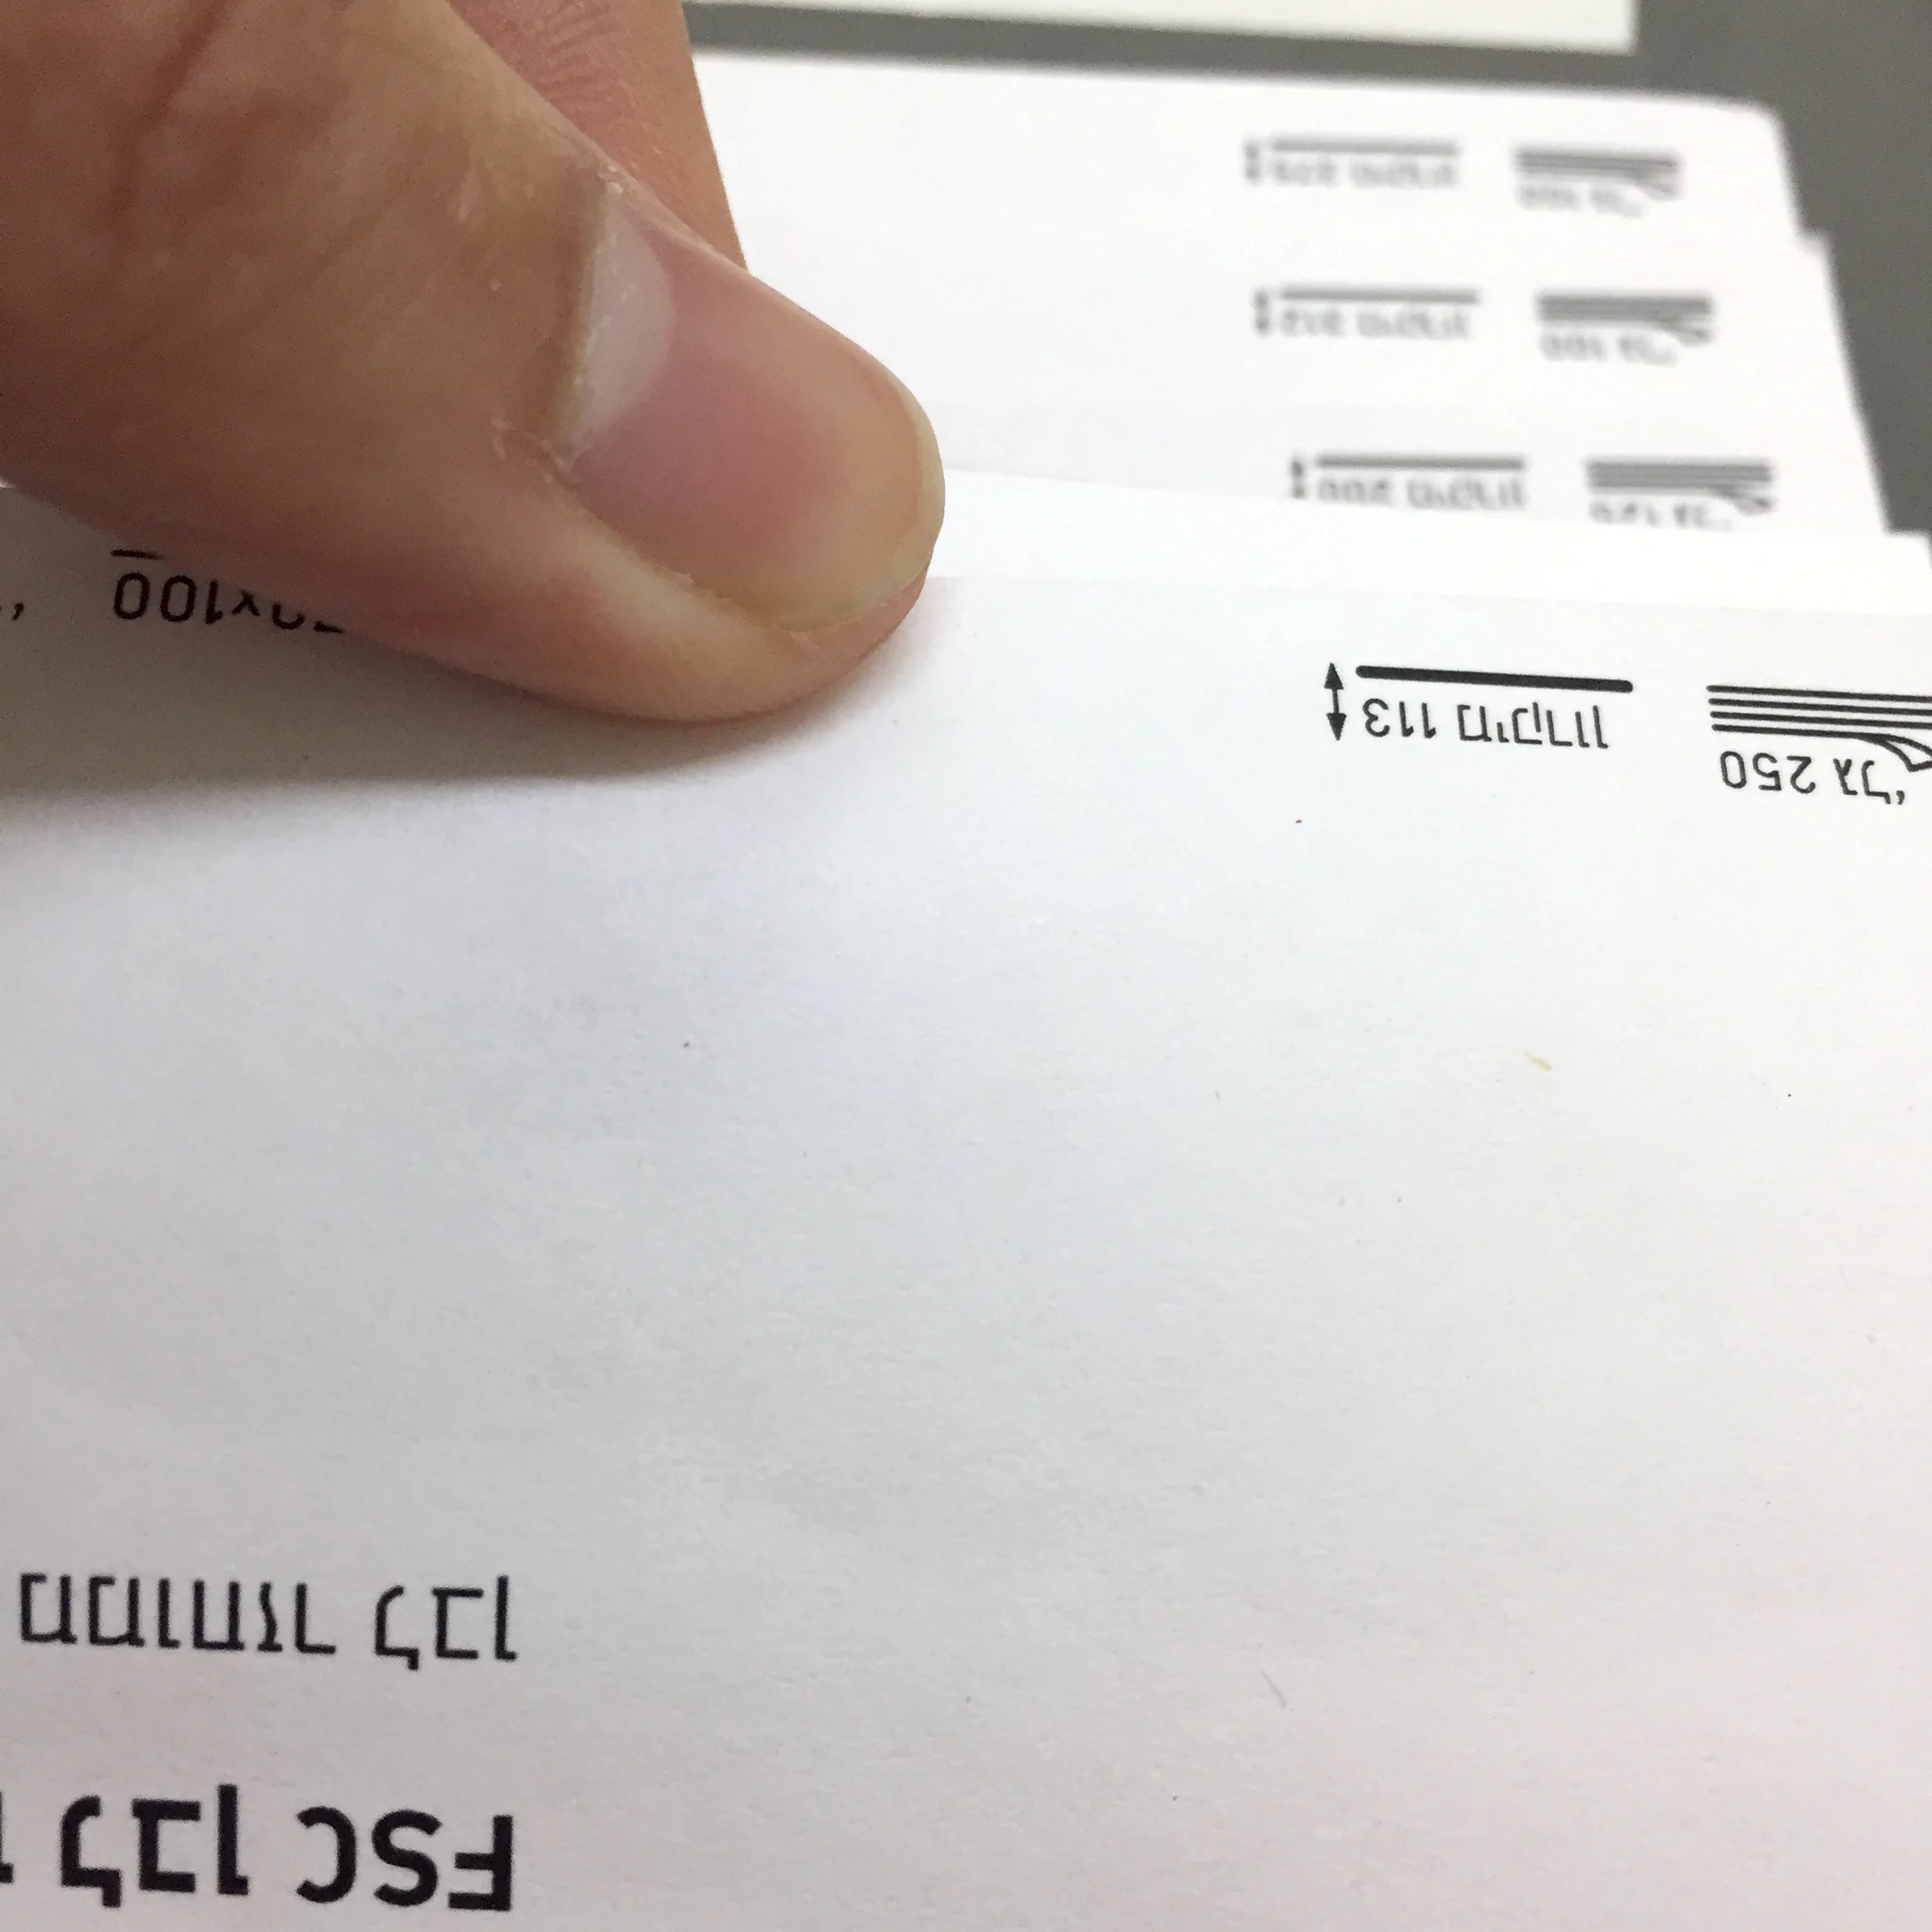
The inside is 120gsm paper - not flimsy, but comfortably thin. It is made of a mix of FSC paper (which I call virgin paper, since it's the first thing the tree was made into), and 100% recycled paper (paper on it's 2nd lease of life at least).
It is smooth and easy to write on. And we tested it. Ballpoint pen, ink pen from Muji, and a fine tip permanent marker didn't bleed through the page.
At the end of its life, the entire book, including the cover can be recycled because there is no lamination on it. Just remove the binder.
3. Binding
I was initially planning on using a sewn binding, but that would have been too expensive. So the next best option is wire binding. It means you can open your book completely flat, and flip pages 360 degrees.
4. Size
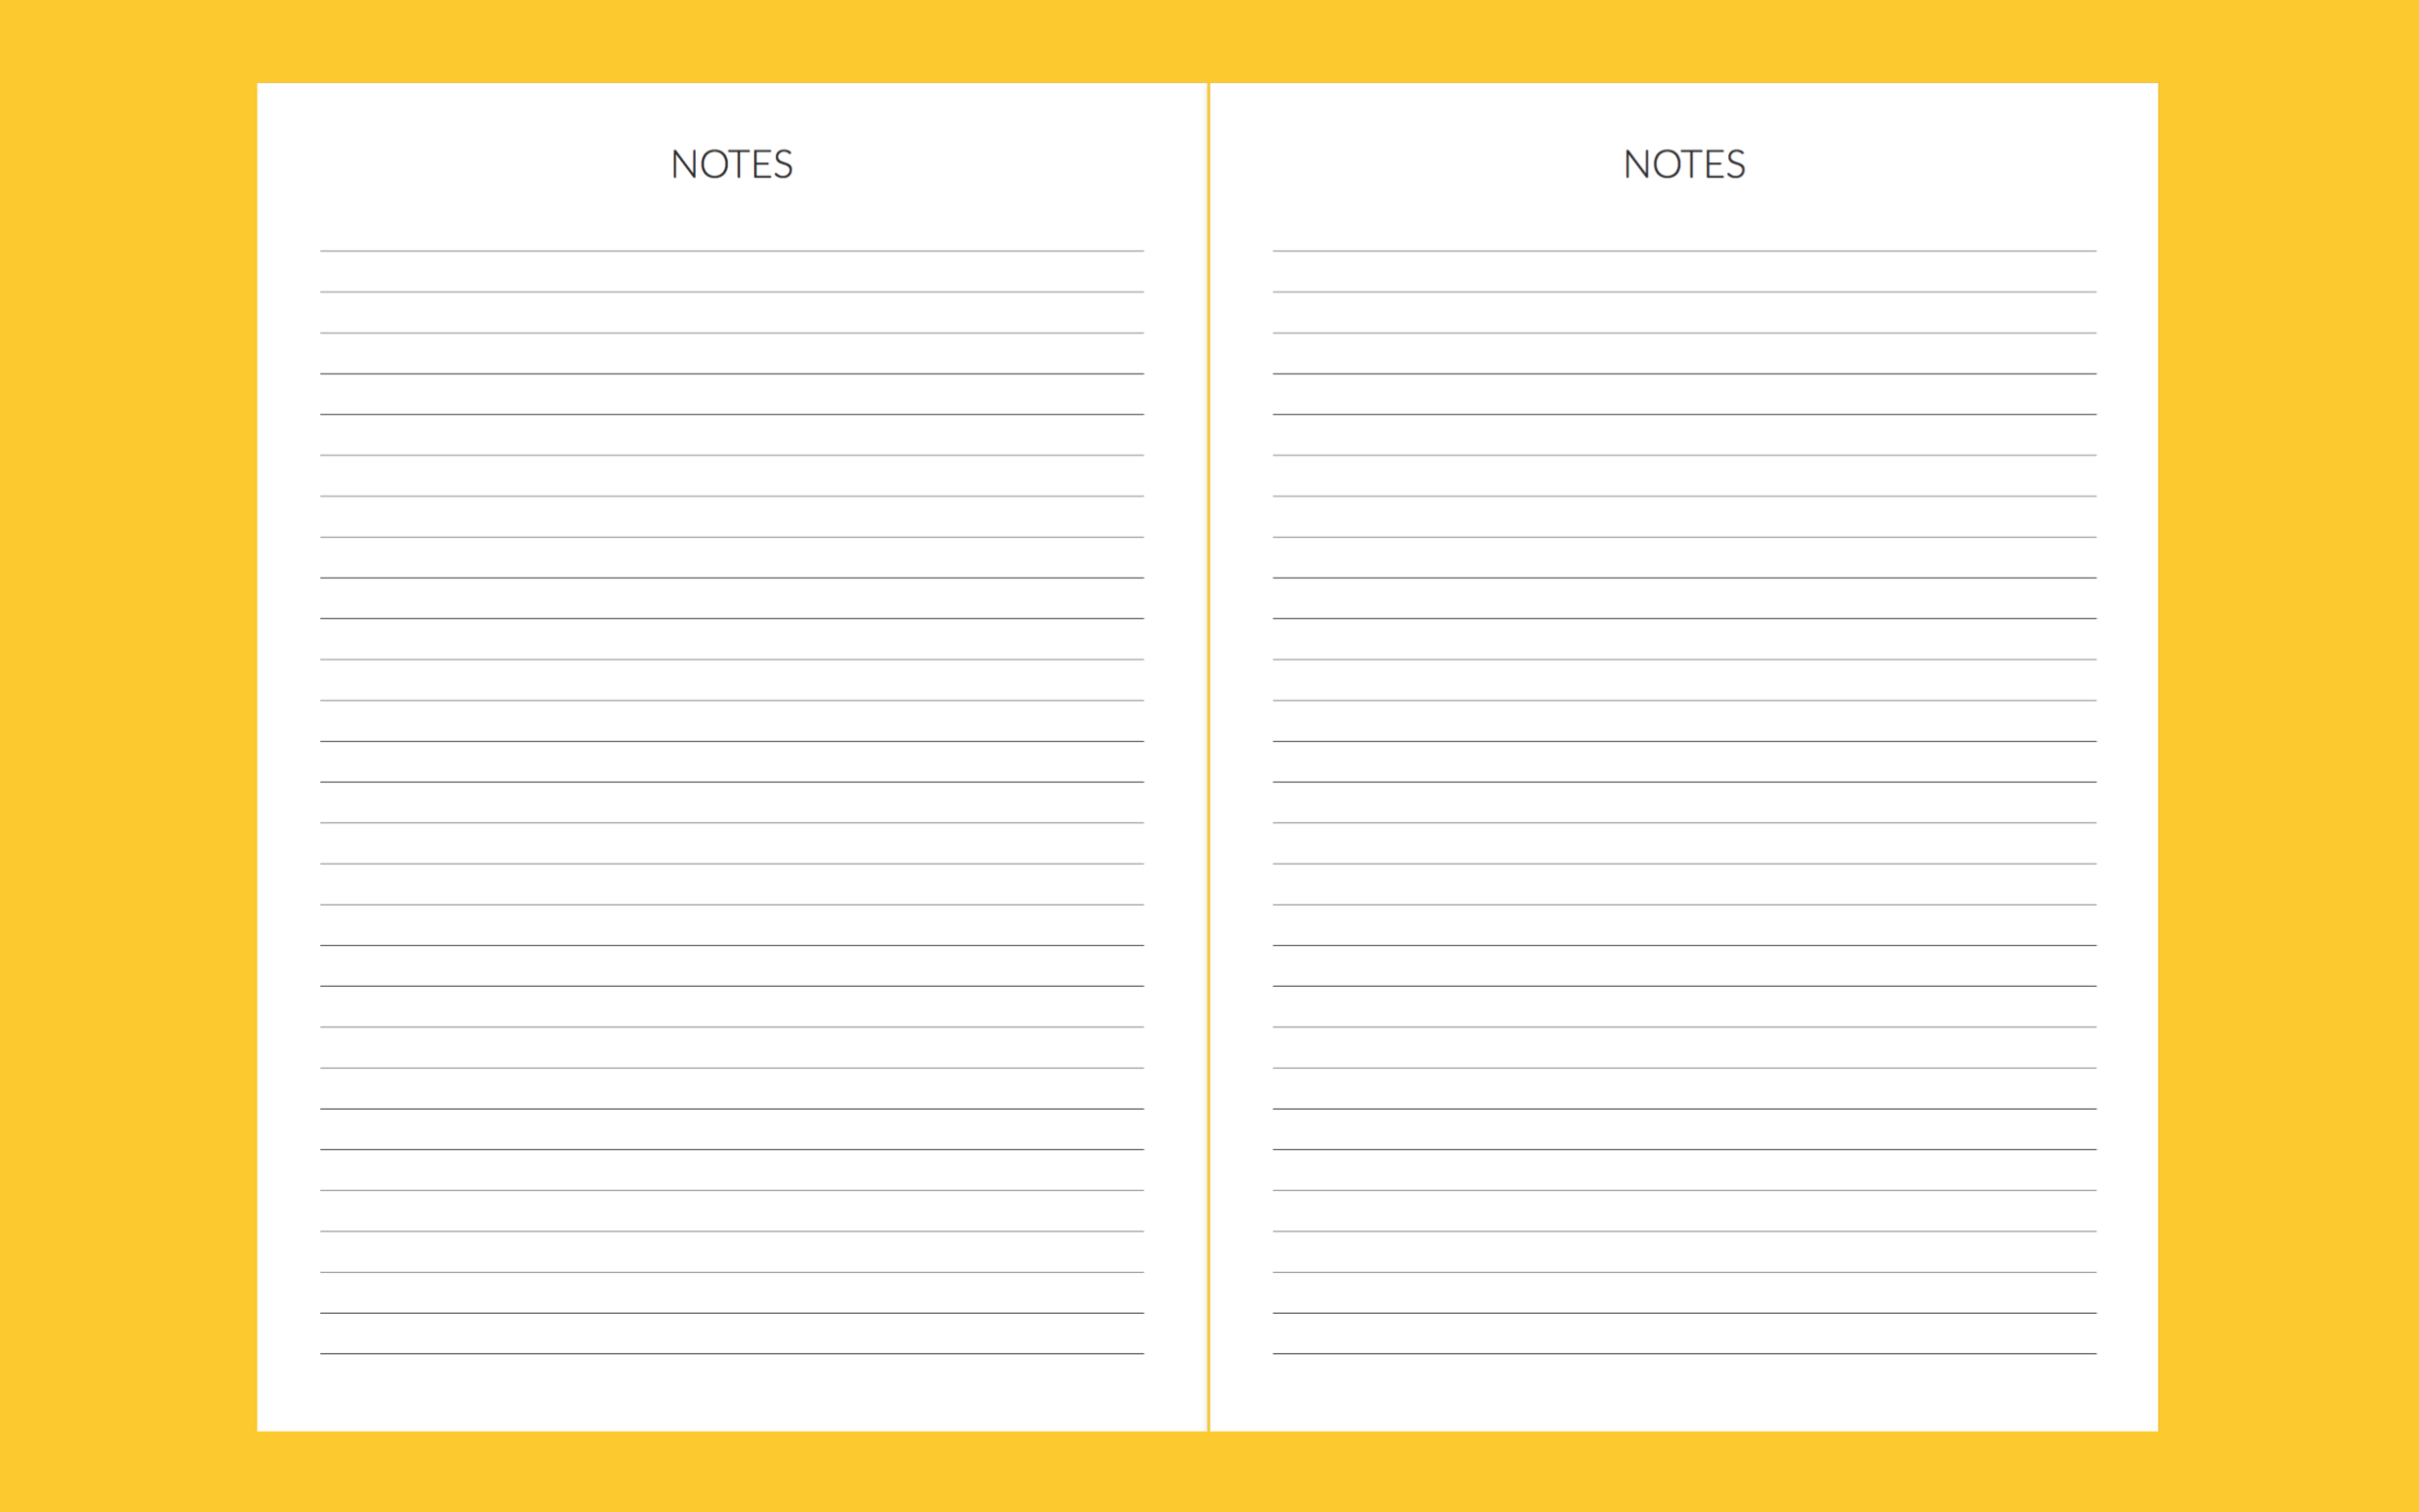
At A5 size, it is small and portable. But there is plenty of space to write, draw, note, whatever, in it. Lines are 6.35mm high so even huge ass handwriting like mine fit in comfortably.
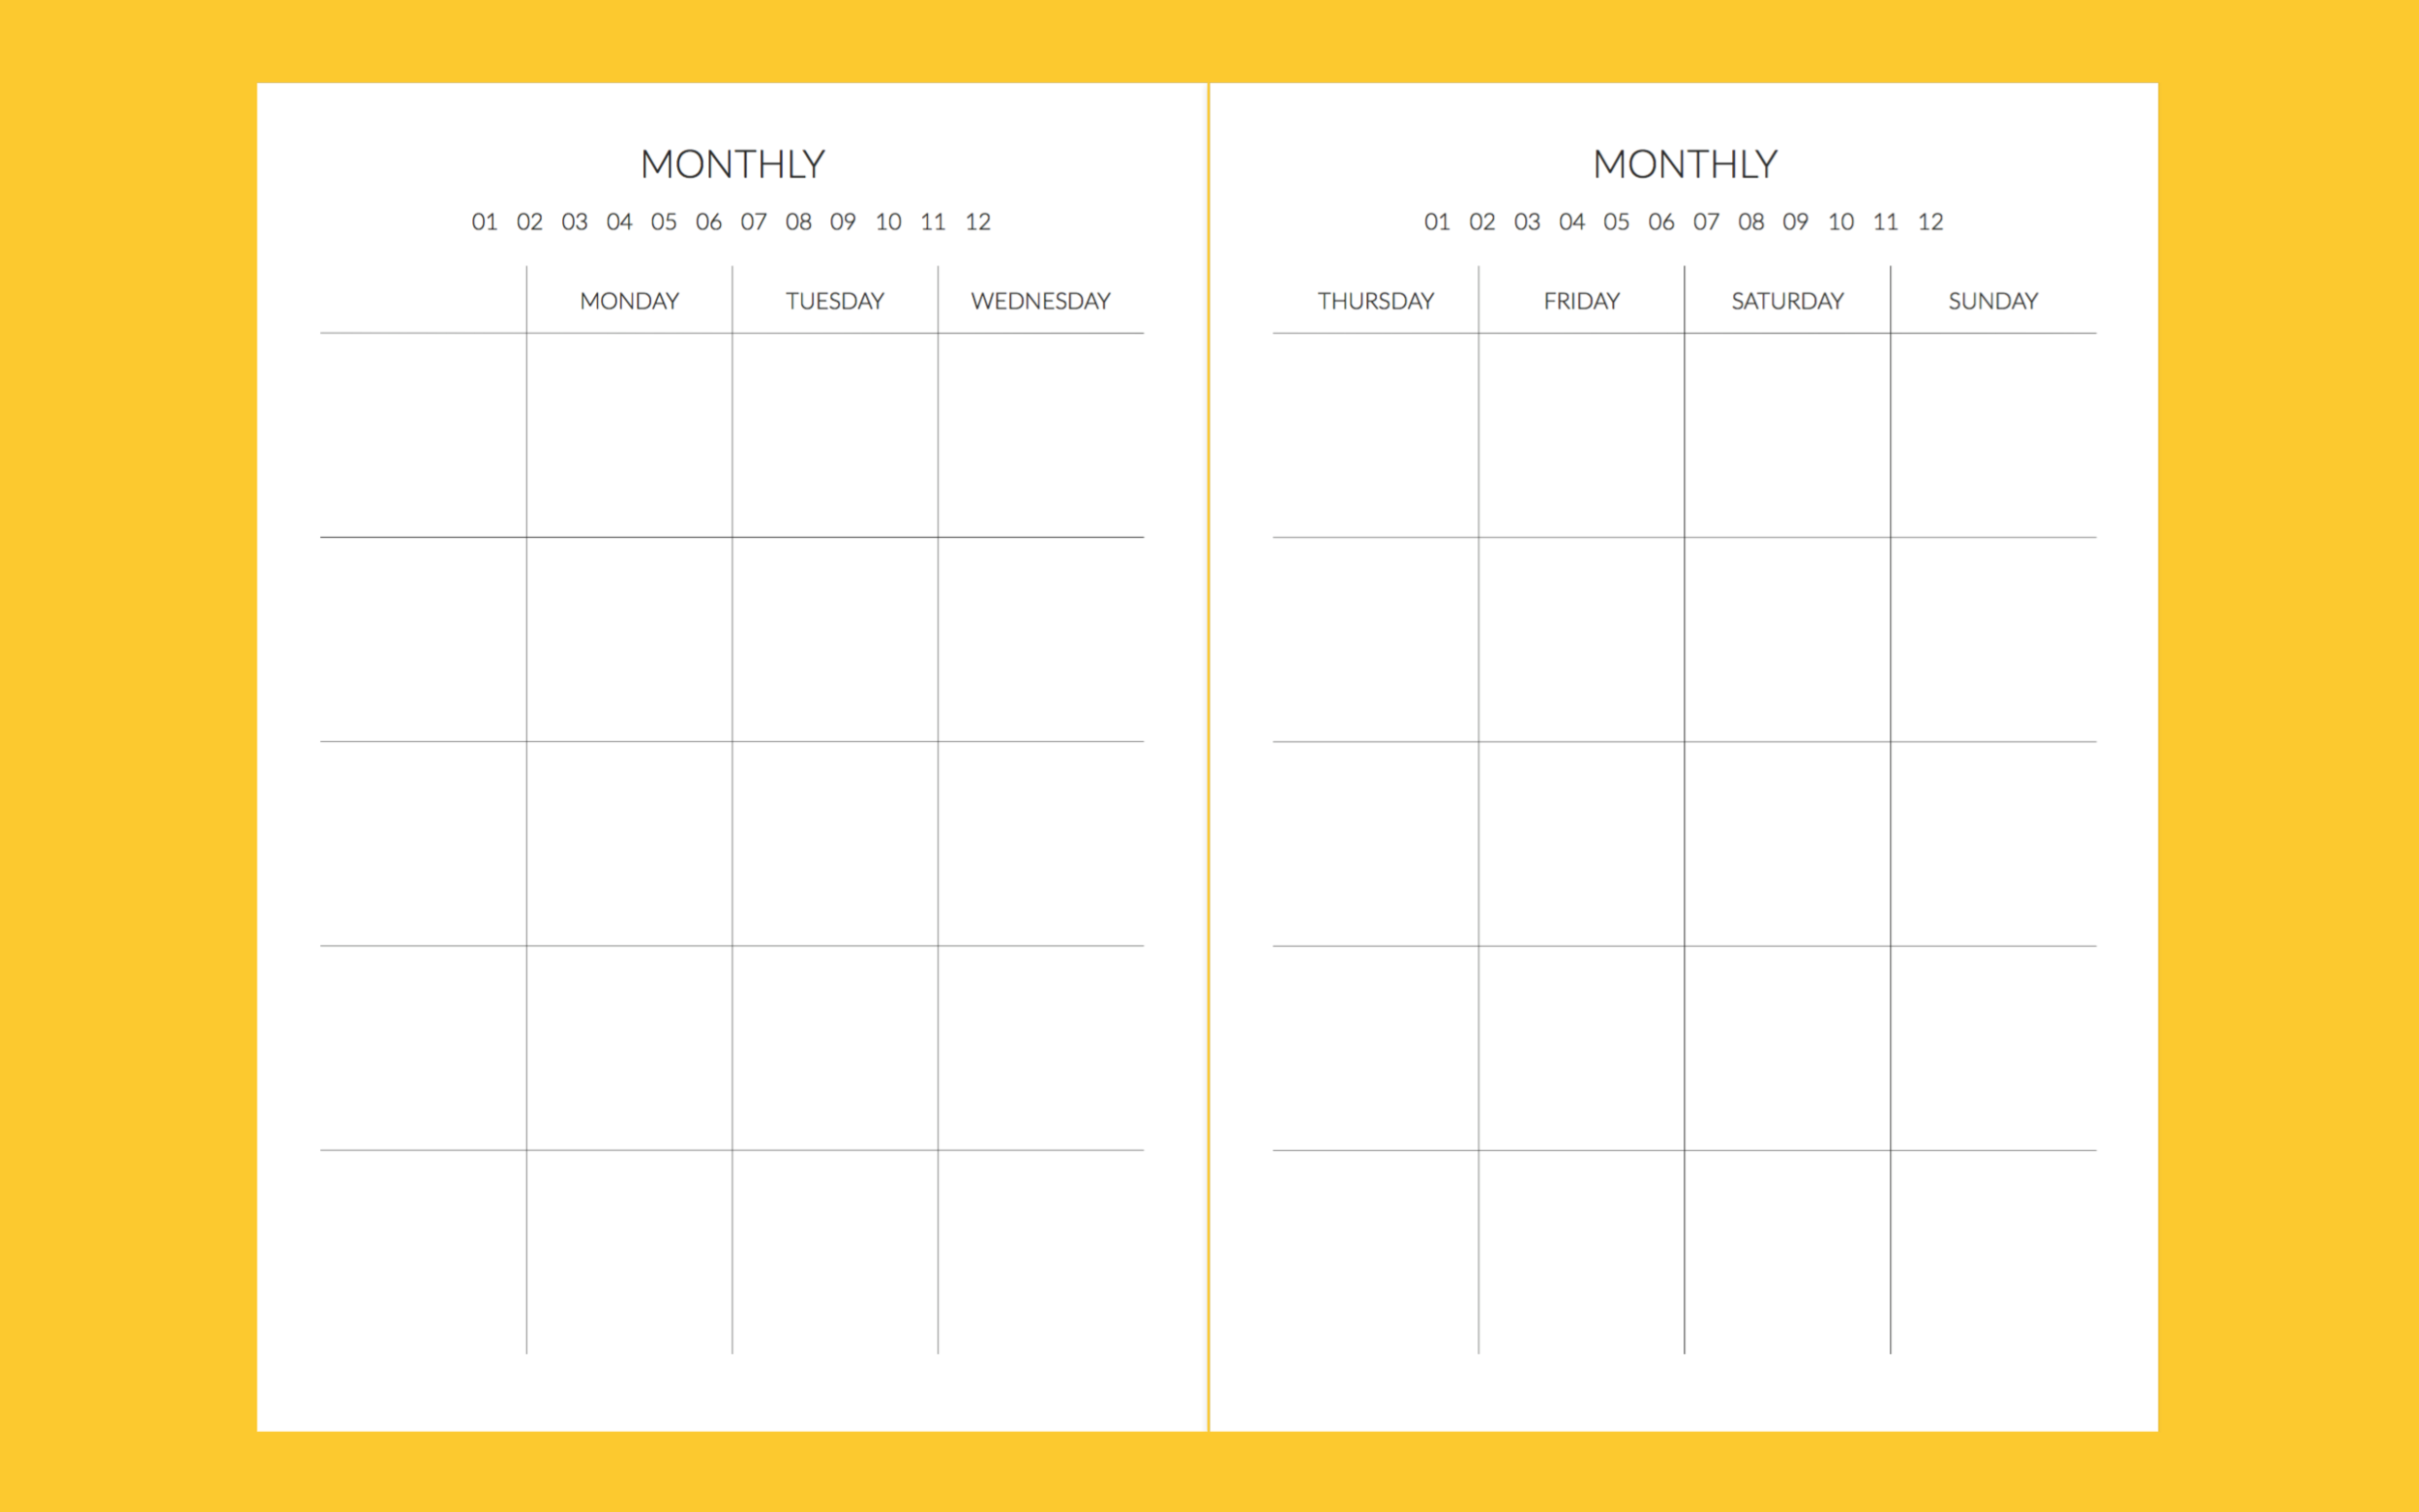
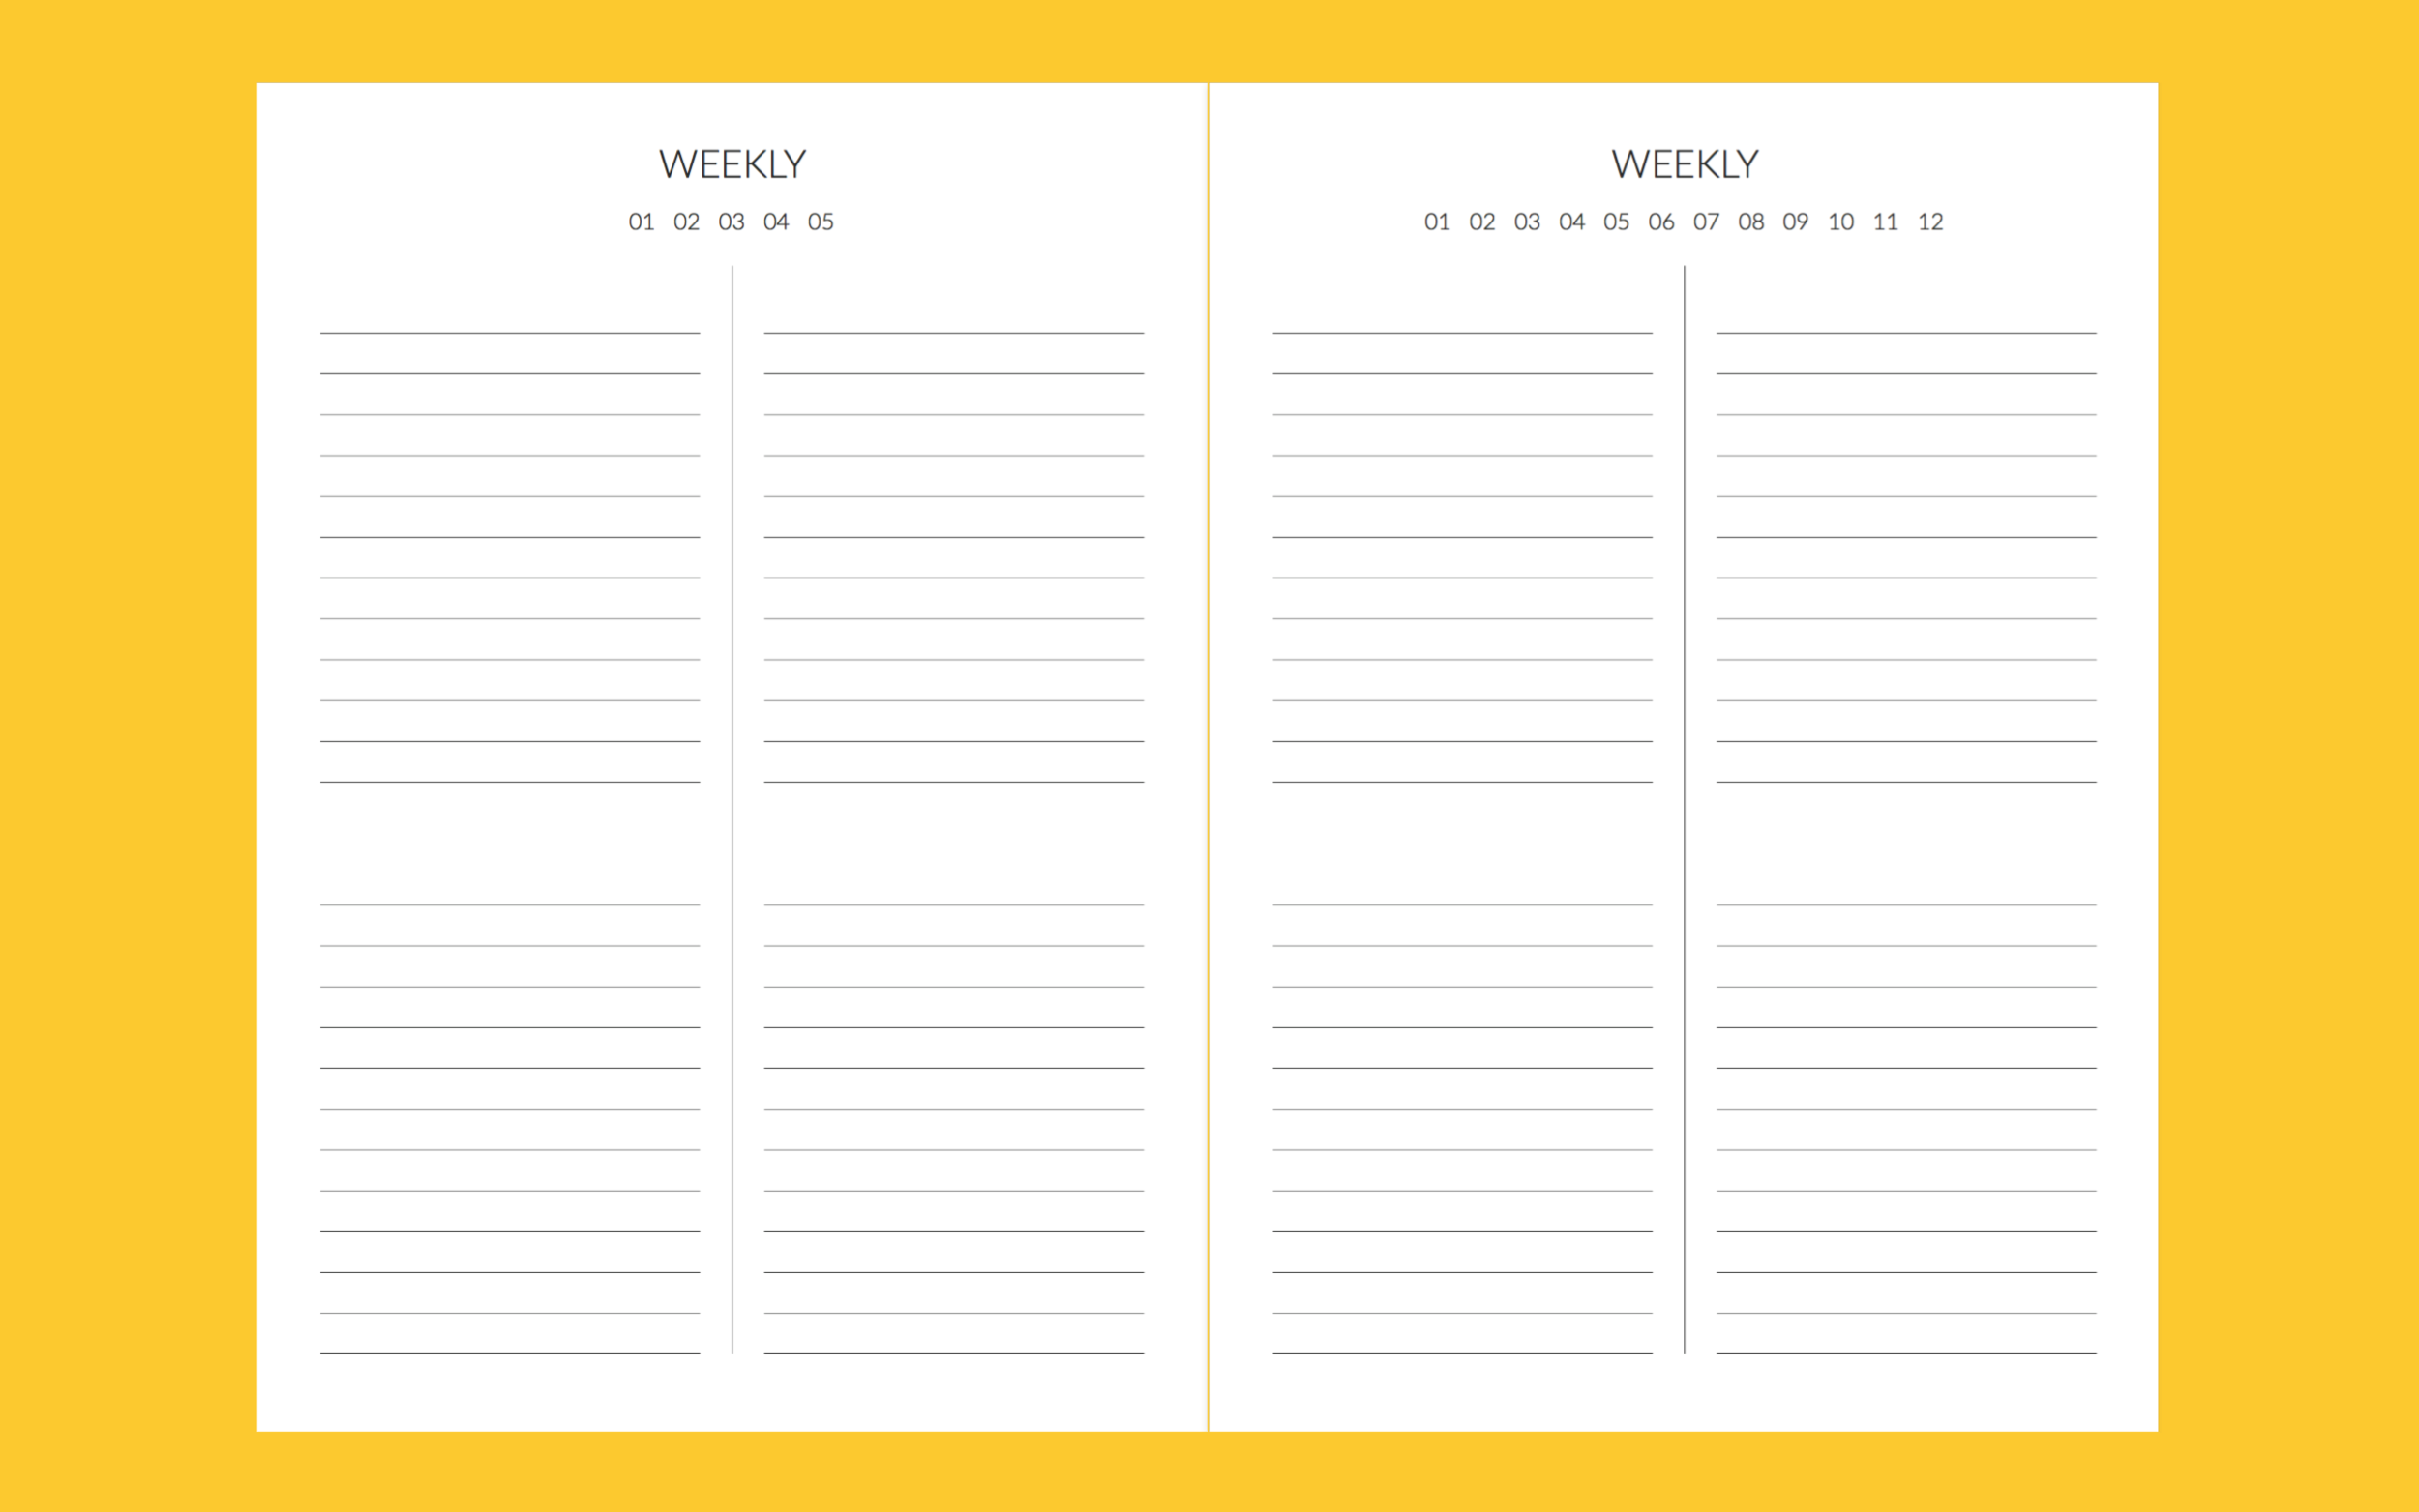
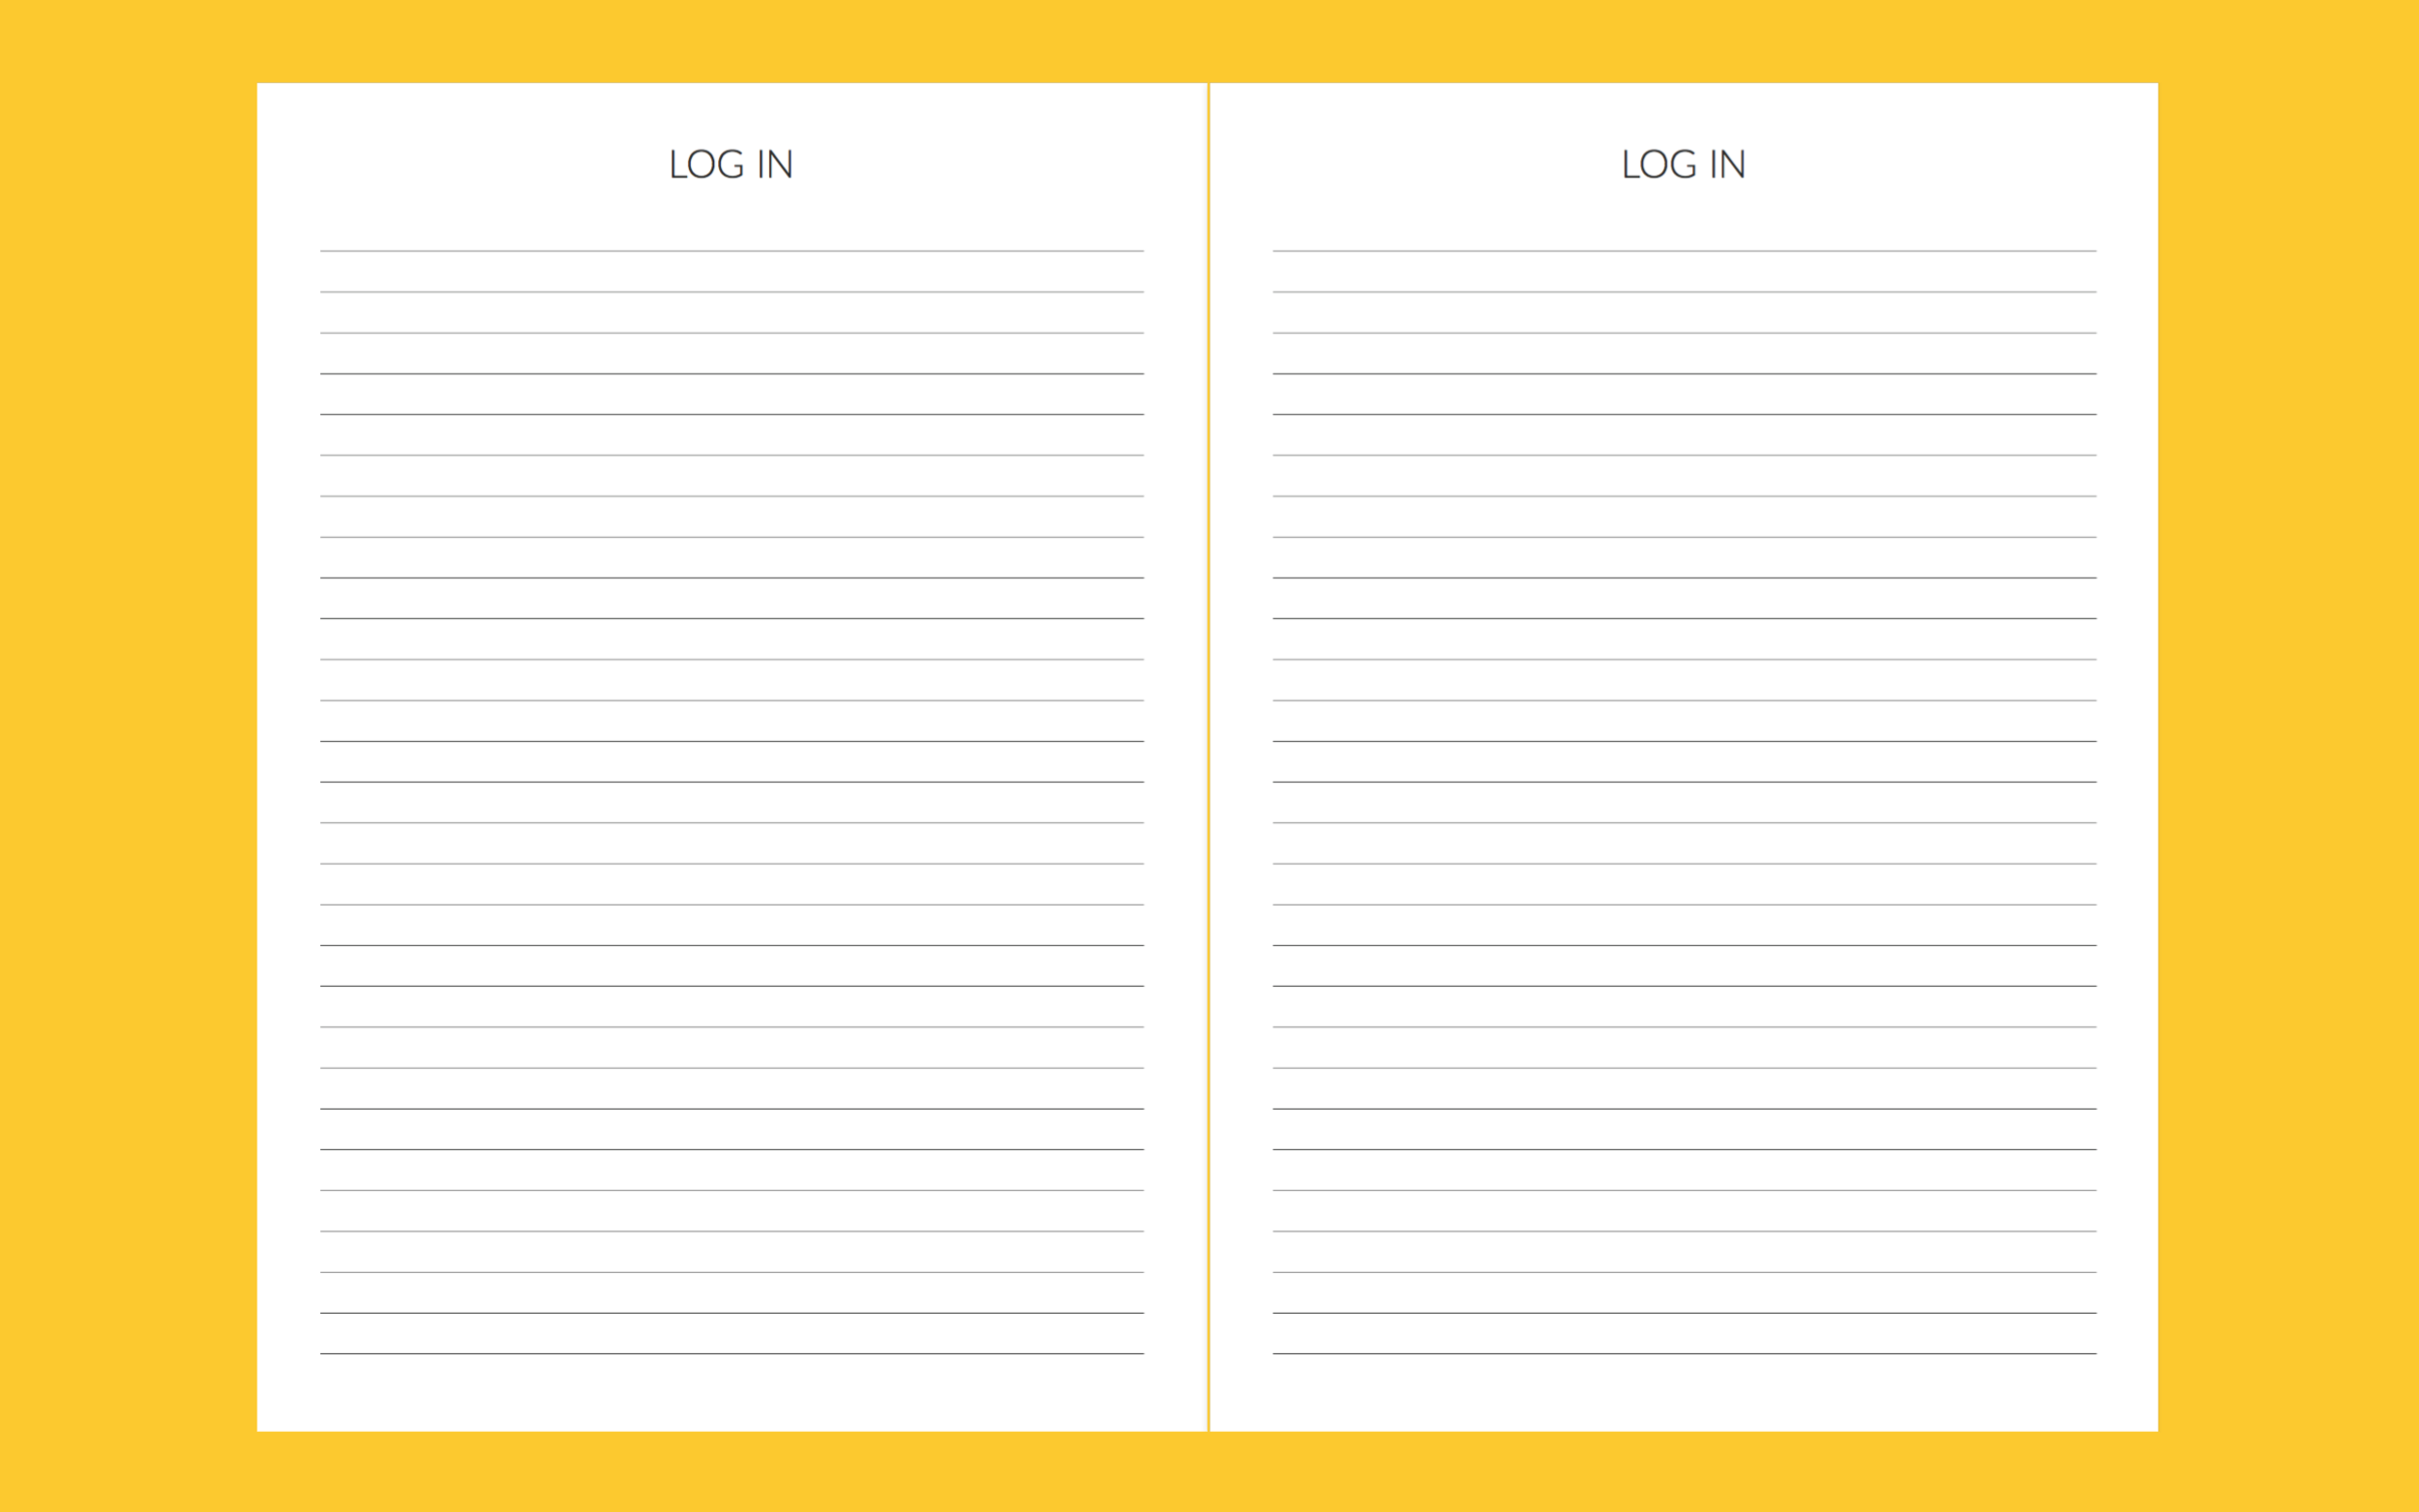
5. Content
It's all genuinely very useful stuff. No fluff, and you use it in any way you feel is good for you. The planner will work for you, instead of you working for the planner.
Cost
I'm going to be super honest, against my dad saying that's silly and naive of me, and tell you everything.
Cost of printing: 204.75 NIS
Postage: 30NIS*
Total, according to Google at time of publishing: £50.43
If you think about it, that's less than £1/week to have something that can help you with focusing and getting shit done. That's quite a steal.
*The post office estimated 30 NIS, but their website says less than that. So if it is less, the remaining money will go to packaging and Teens4Oceans. Otherwise, packaging's coming out of my pocket. It'll be my gift to you (:
But realistically, this is still really expensive, and I don't want anyone to miss out on it just because of the price. So, there'll be a digital download available too!
Giving
Earlier, I said a portion of it will be going to a cause, and hooray, we've decided! It will be going to Teens4Oceans, as they educate kids about the ocean and how we, as individuals, can make a difference in our communities to help save the earth. They are awesome people doing awesome things, and let's help them do more (:
And in case you're wondering, I found them after watching Chasing Coral twice in the same day, and angry-crying both times.
For each item you purchase that's above cost price, 60% of that profit goes to them to help them reach more people. The remaining 40% goes into greenifying TW's processes. Specifically, a solar powered battery, and citric acid. But more on than another time!