This is a mediterranean and middle eastern spice, so it might be as readily available in supermarkets, but Amazon has it!
You need:
Sumak
Water (I eyeballed it, at around 1 cup sumak to 3/4 pot water)
Pot
Cheesecloth / strainer
- Soak sumac in water for an hour
- Boil for 30 minutes
- Let cool and strain
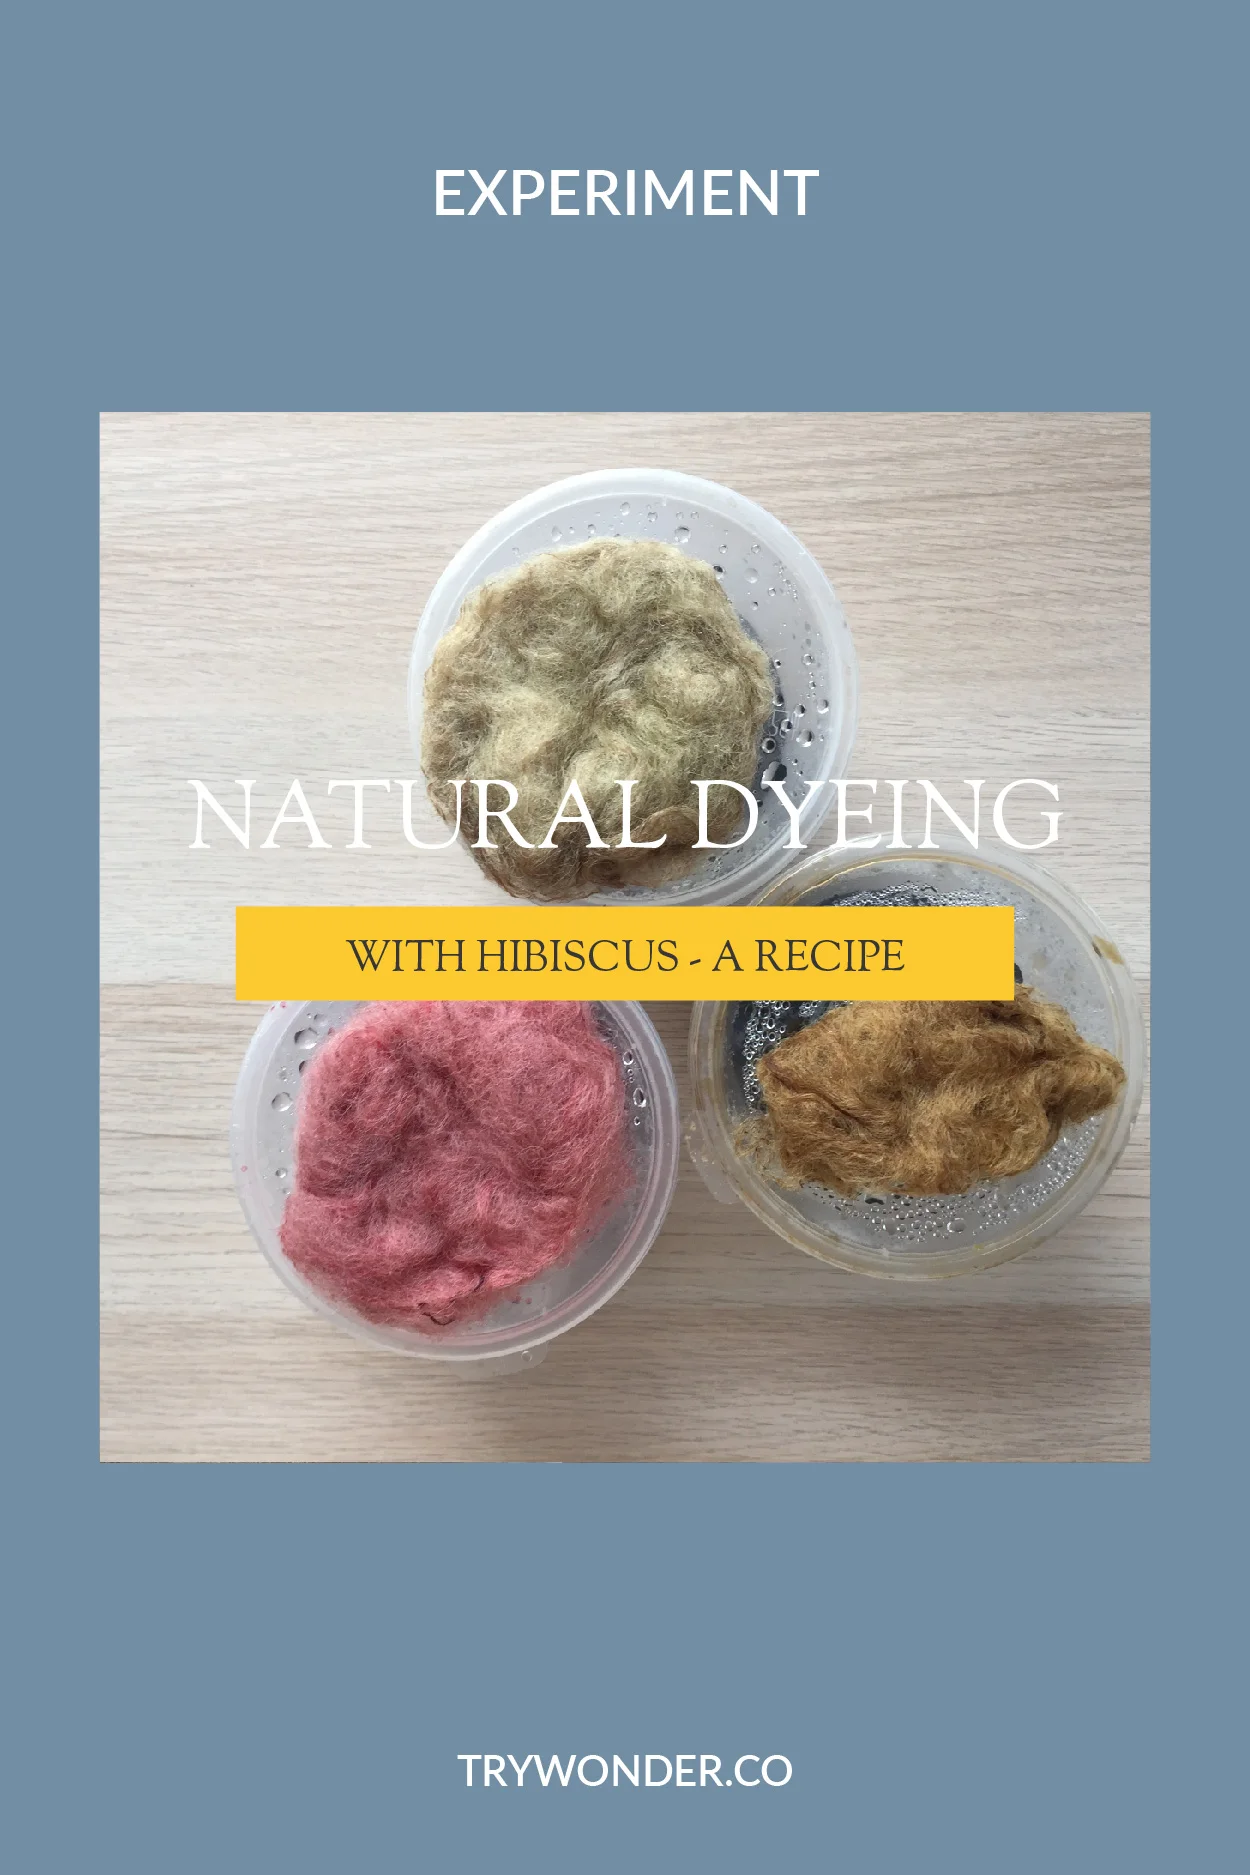
According to my research, if you use an alum mordant with sumac on wool, you’ll get a dark yellow colour, but I did exactly that and got a bright pink! So, I guess this just proves that really, anything can happen with natural dyeing!
Also, you could potentially get a really nice grey if you add iron, but disposal of the iron would be tricky so have a plan before using it!
I didn’t try varying the pH of this dye because I didn’t have enough of it, but if you do, please, please share your results!
Share what you’ve made on Instagram with #trywonder, I’d love to see what you’re up to!

If you enjoyed this post, please share it on Pinterest, Facebook, and any other platform you use, thank you!